An outline of my process when I create a linocut reduction print

Firstly I make a sketch in my sketchbook using colour pencils. A different colour for each layer. I trace the image using carbon paper onto my lino. I used Japanese lino for this print. It is double sided, so it can be used again for something totally new on the back.
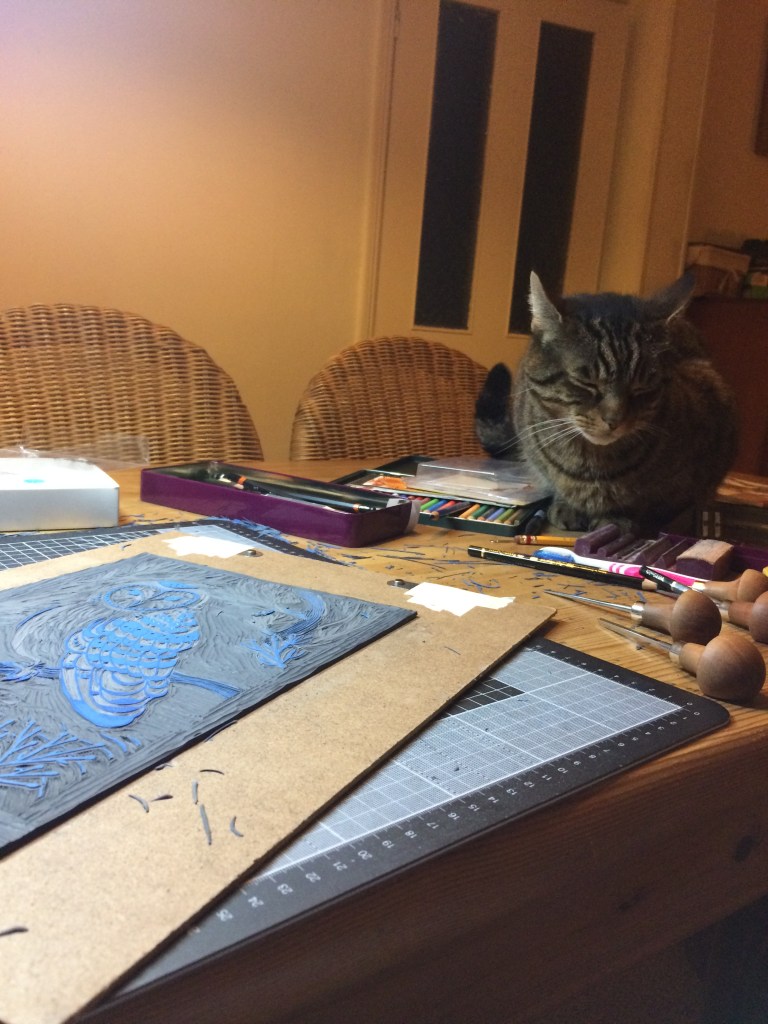
The lino is stuck to a board with carpet tape. It’s secure, the lino won’t move whilst it is being carved. I use ternes burton pins to keep a perfect registration. I use masking tape to hold the tabs on my sheets of white zerkall printer’s paper. Don’t hold the prints by these tabs incase they move.
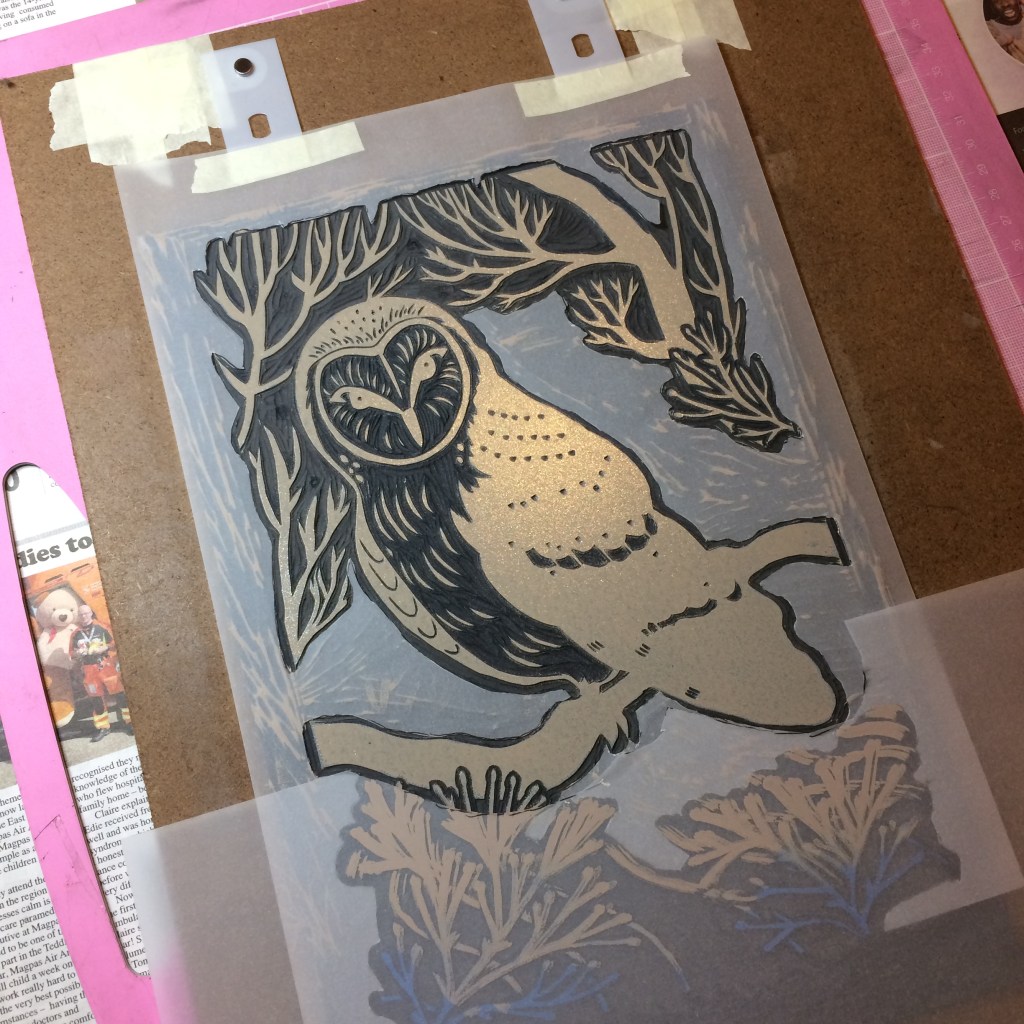
I use a mask made of tracing paper to prevent unwanted chatter on my print layers.
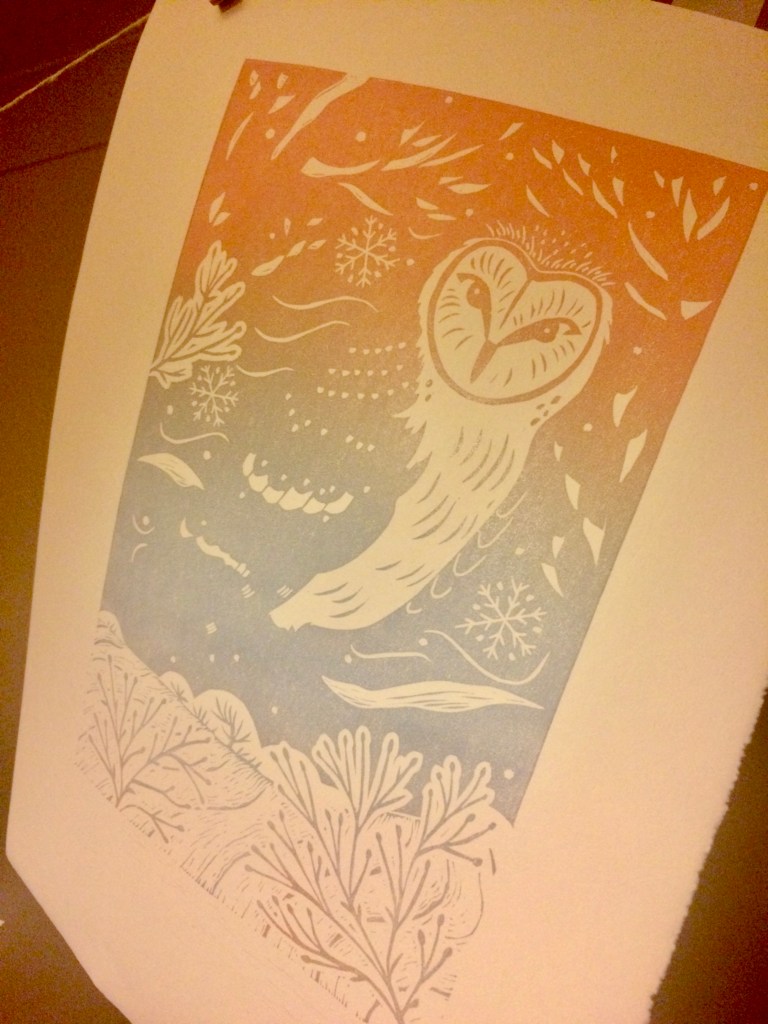
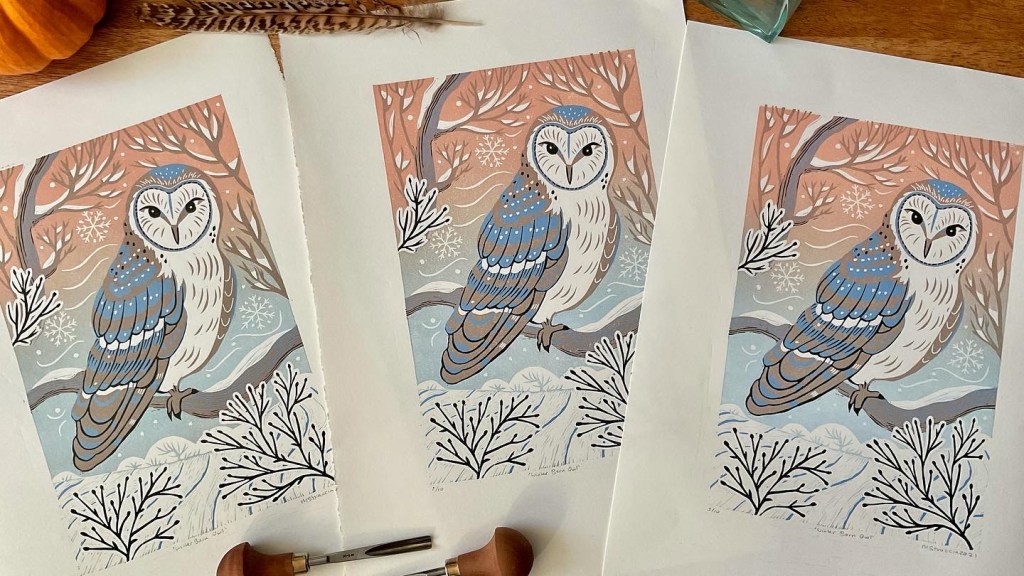
I carve each layer whilst referring to my original sketch. Here are all four layers.

I hope you have found some useful ideas. If you have any tips for printing using this method do let us know!
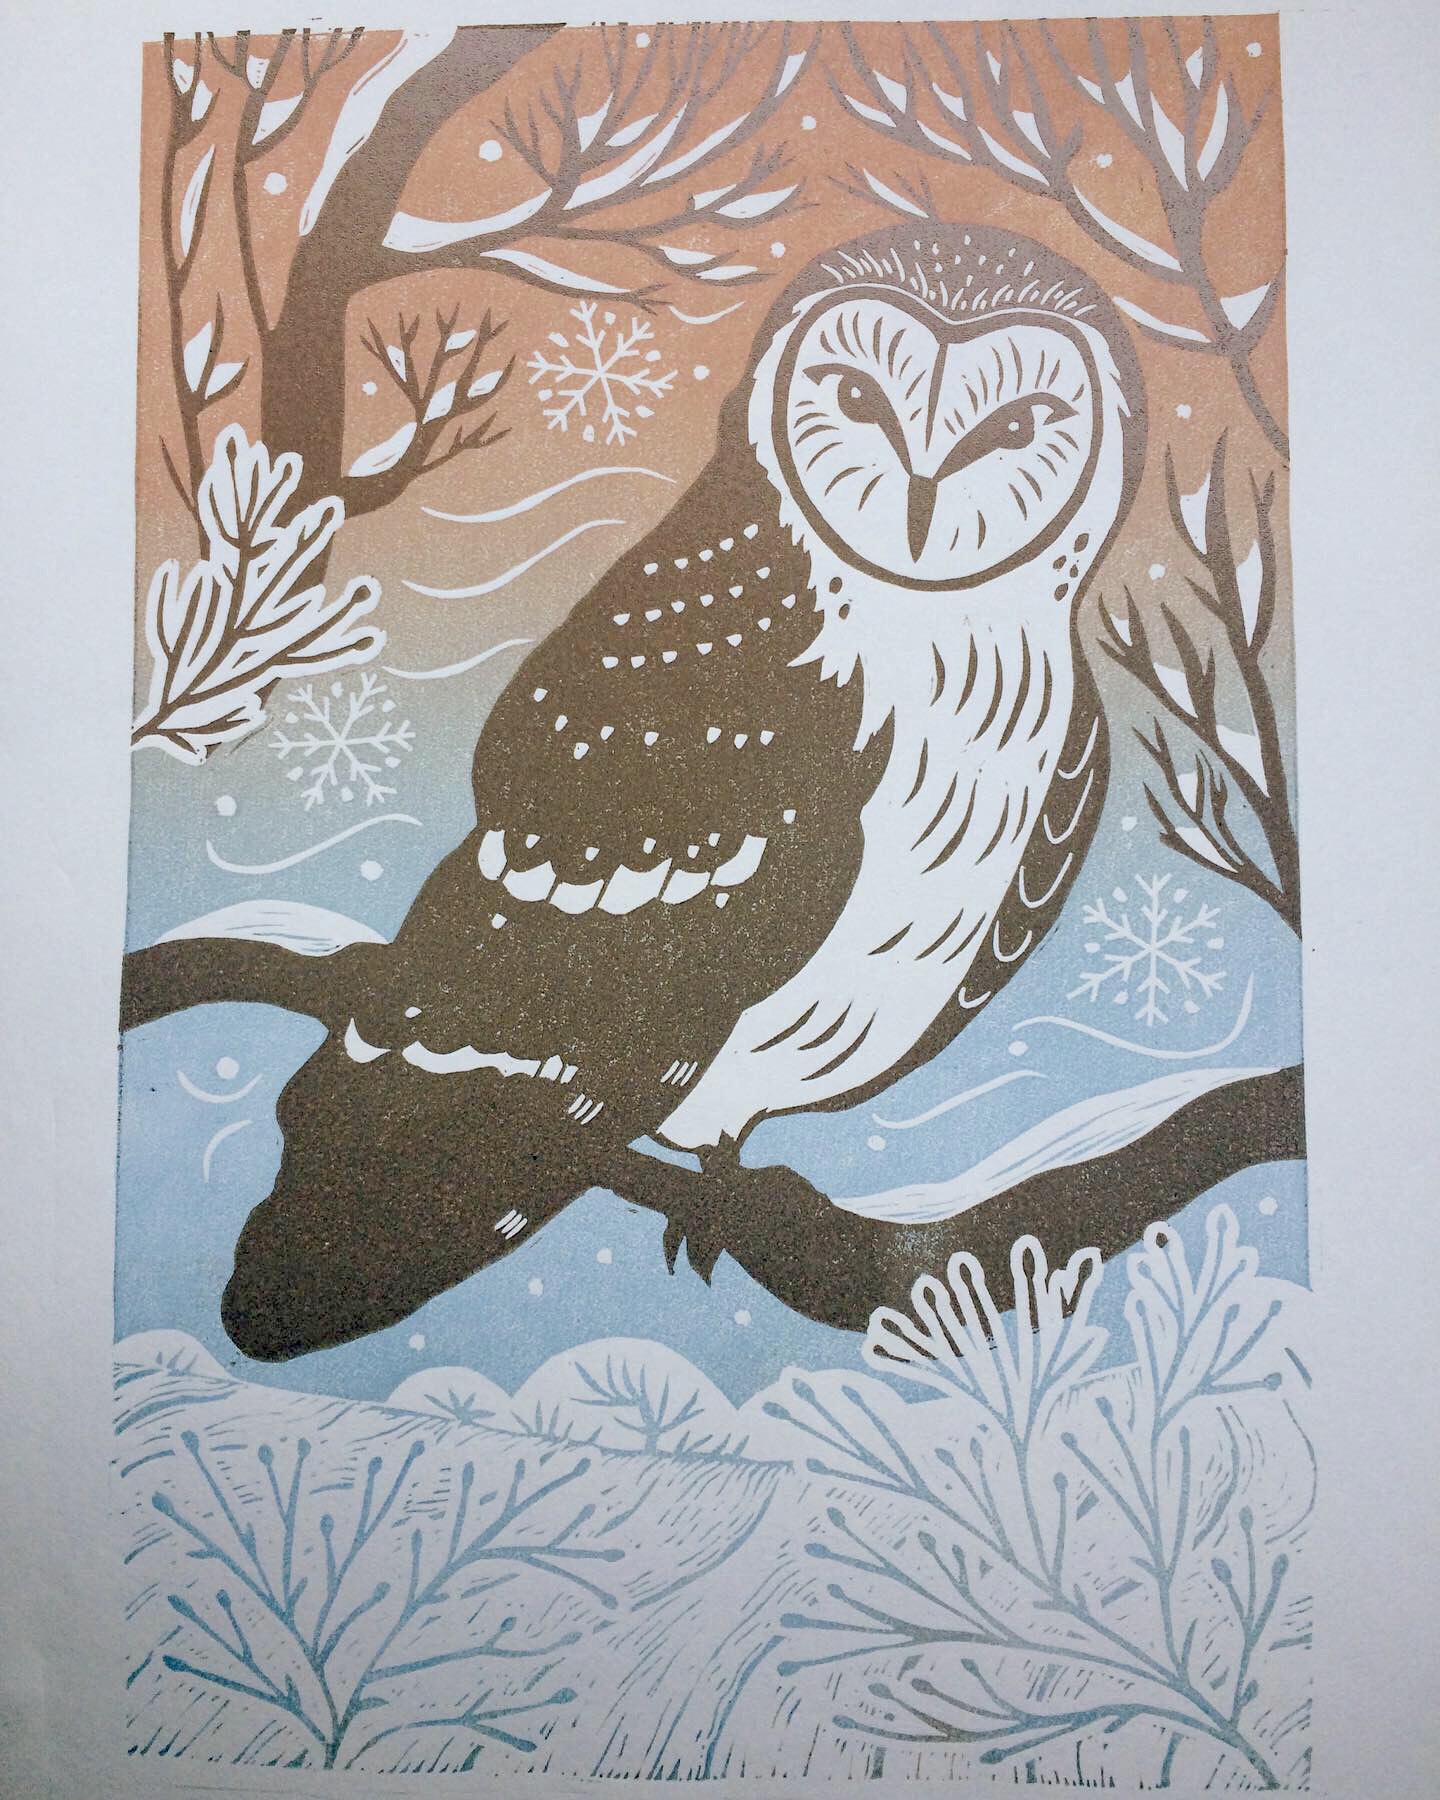
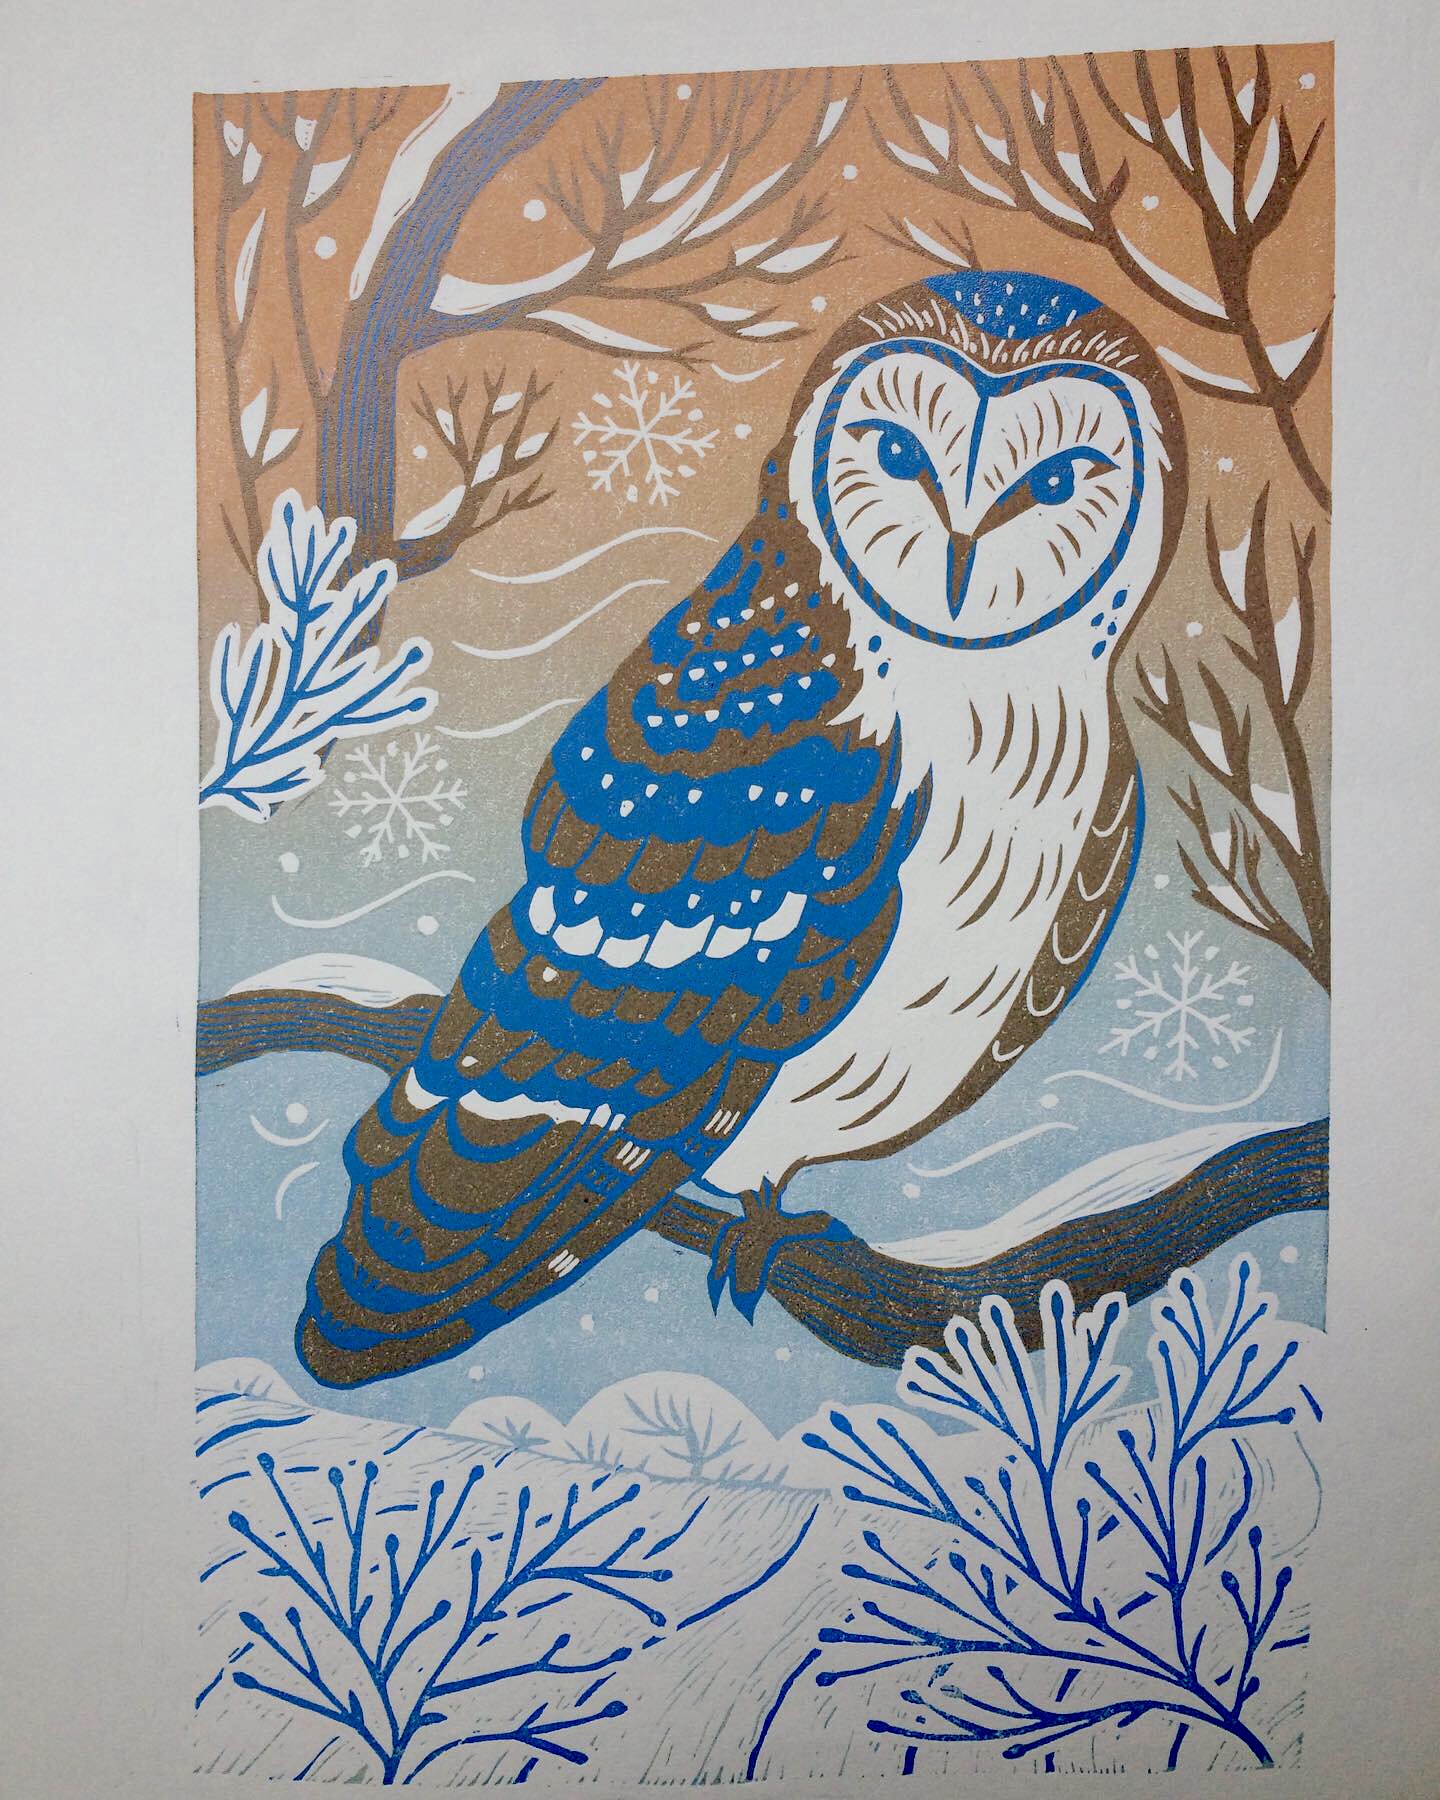
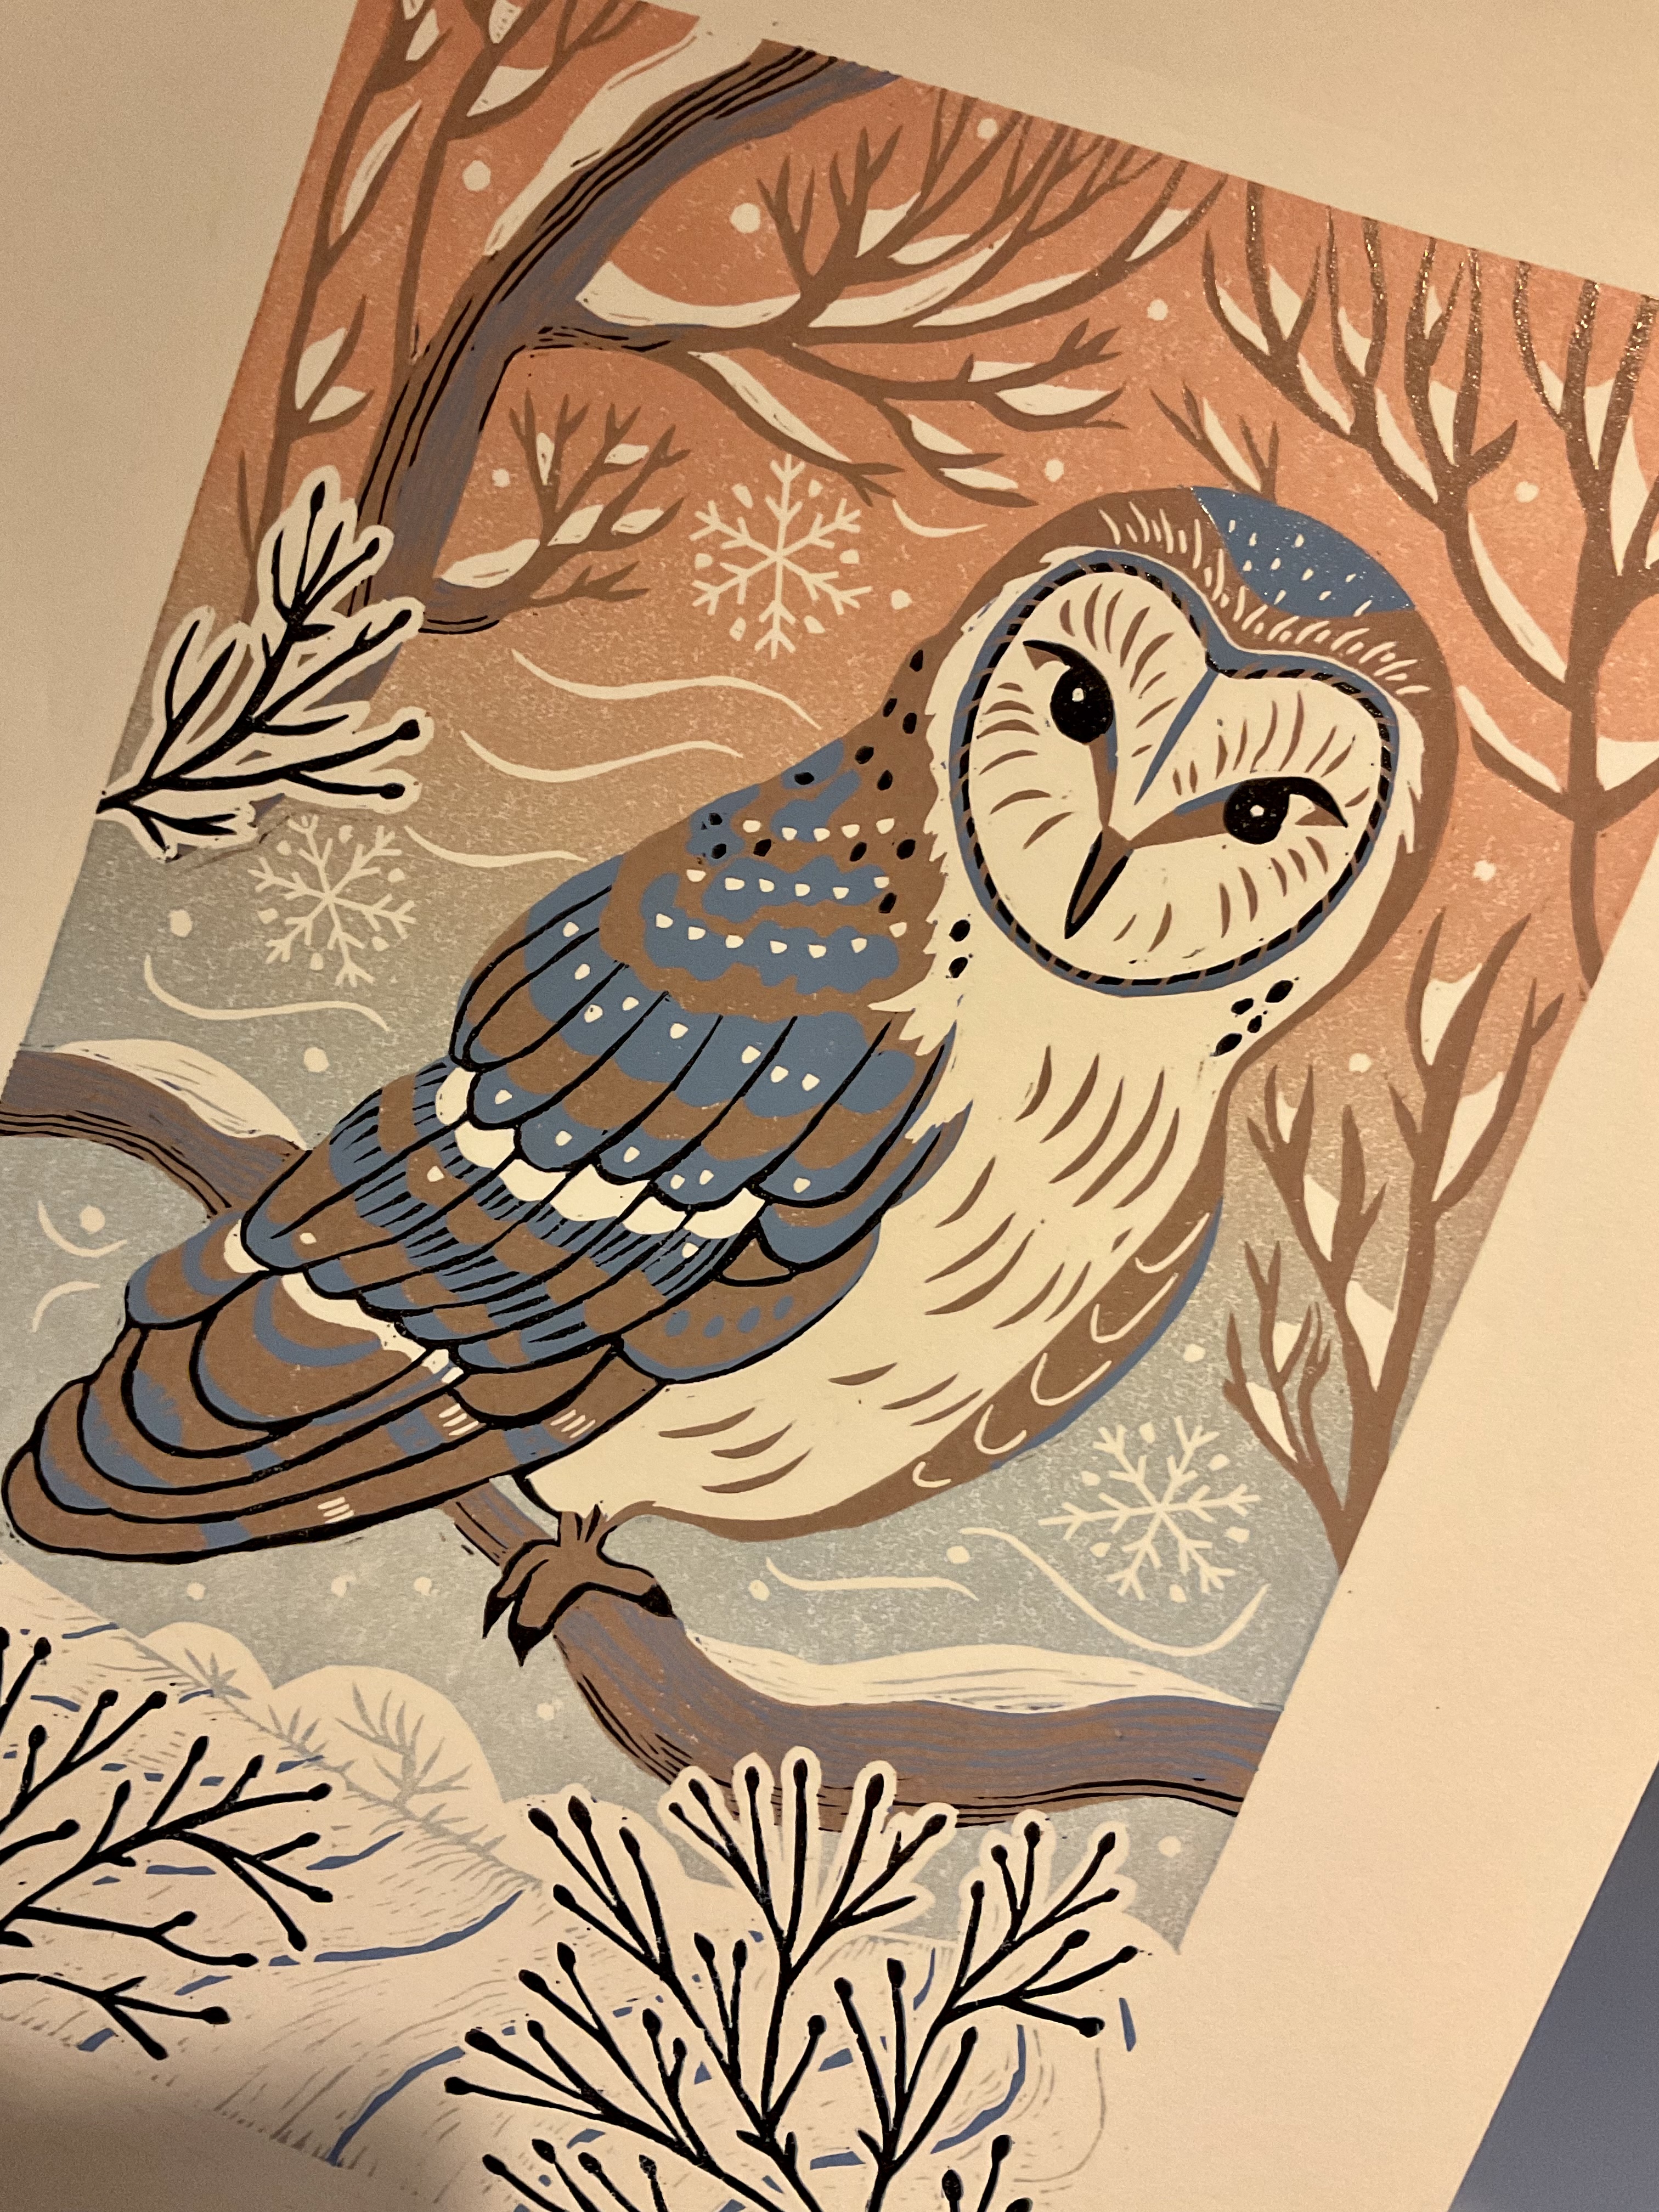
The Winter Barn Owl is available to buy now from my Etsy print shop.

One thought on “Winter Barn Owl”