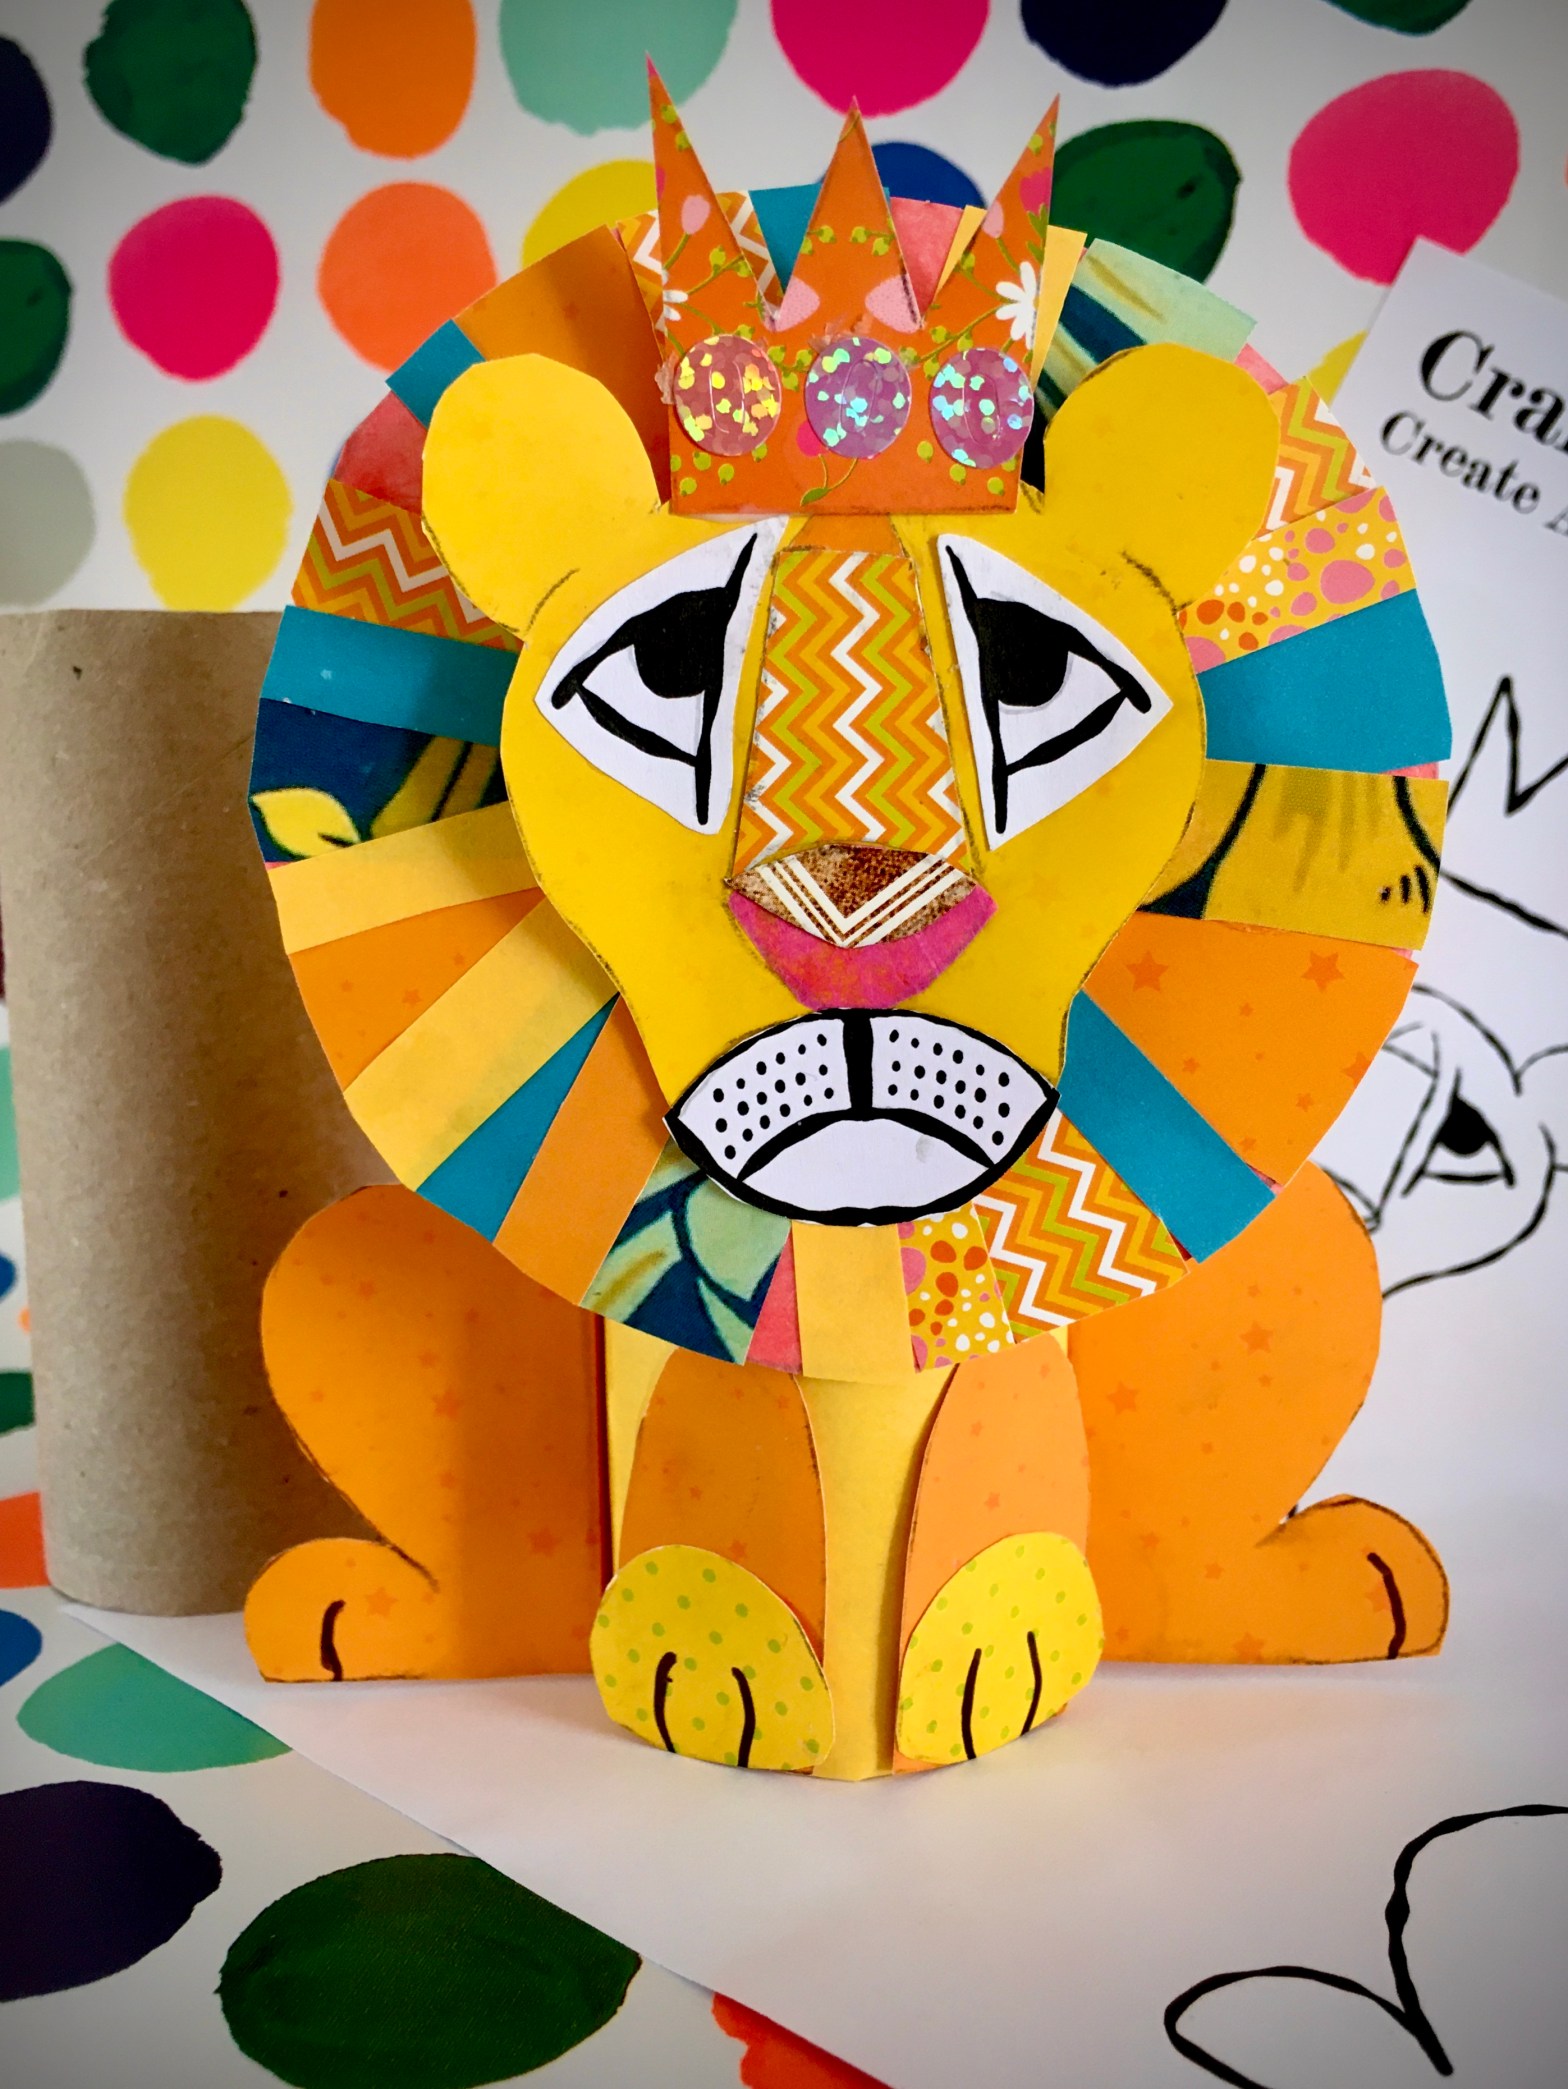
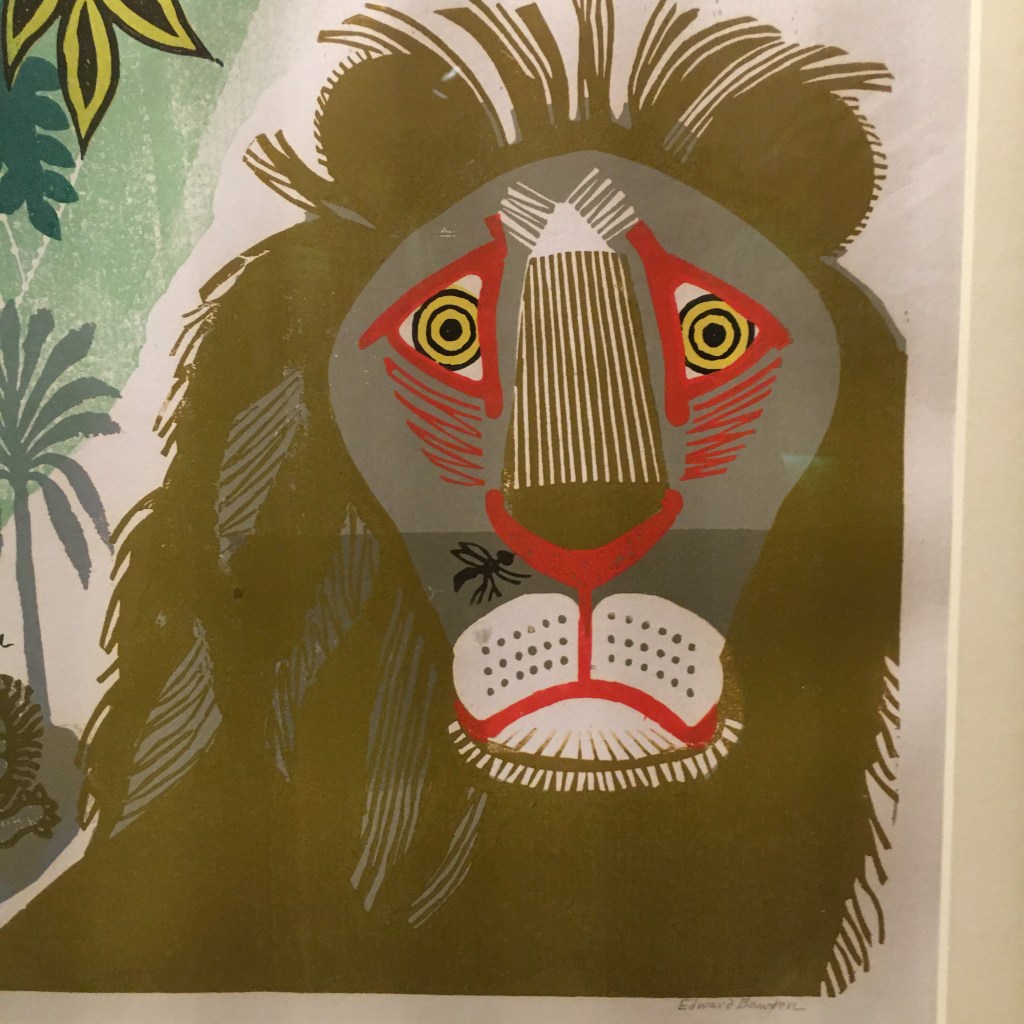
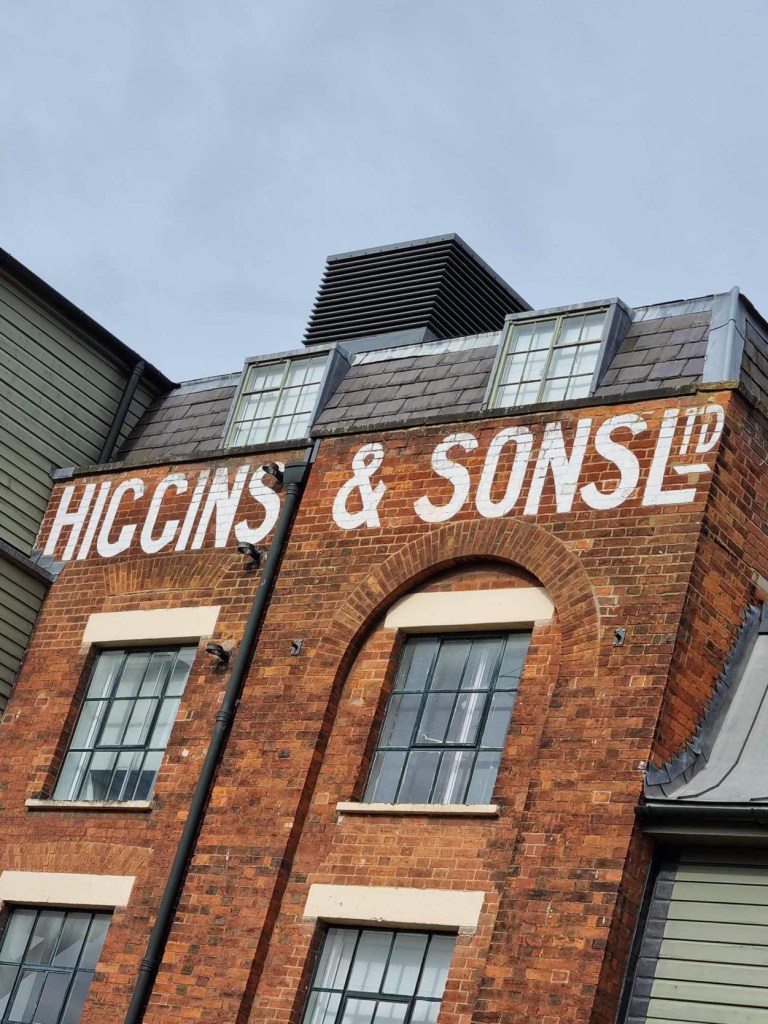
I want to share with you these super fun and easy crafty loo roll lions. We made them at The Higgins, the home of the Edward Bawden archive in Bedford.
The lions are inspired by Bawden’s Aesop Fable artwork for ‘The Lion and The Gnat’. You can see the piece in the main (or mane) exhibition called ‘Edward Bawden and Me’.
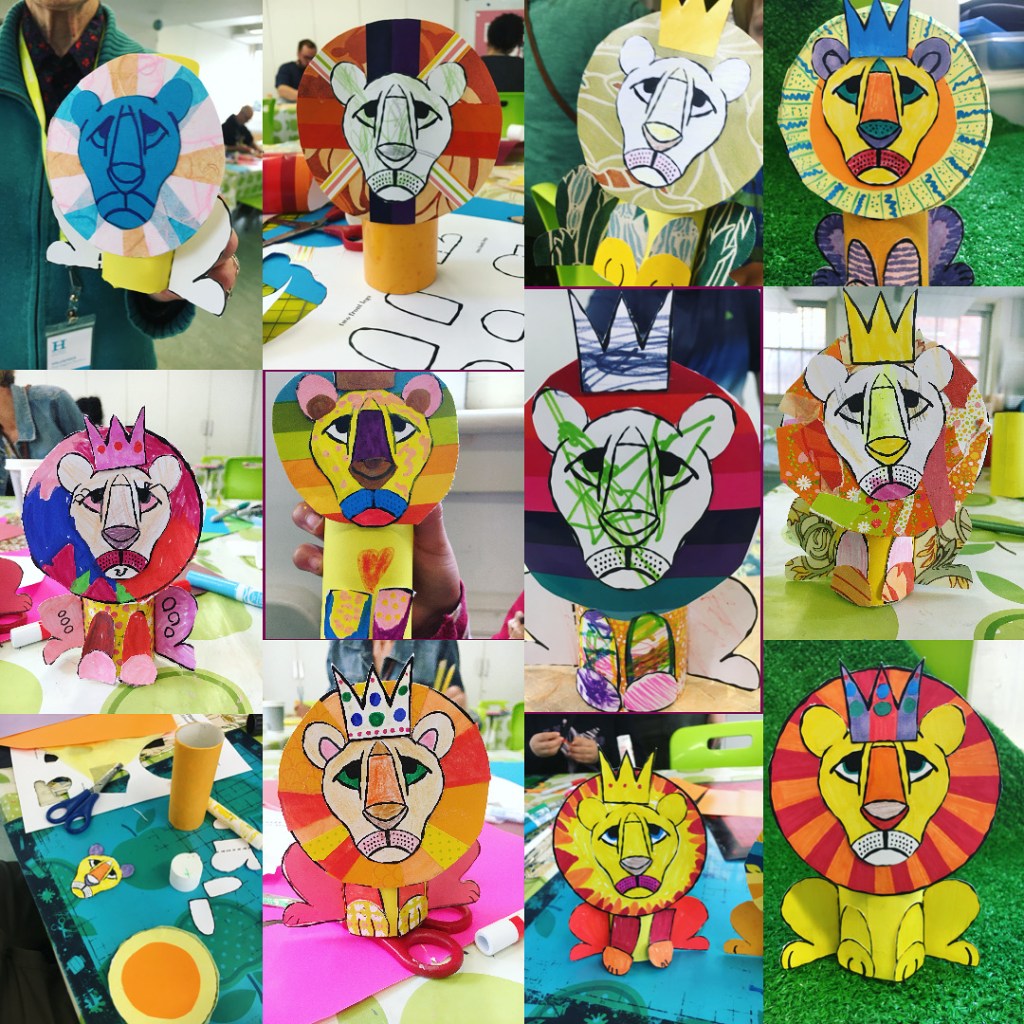
So many creative families attended the workshop today and made some beautiful lions. This was my third crafternoon at the Higgins and we had so much fun! If you missed out and want to make a lion at home with your family, you can download and print a template (the file is called crafternoon-3-lion). You just need an empty loo roll, some glue and something to colour in your lion elements. We used pens and collage material, but you can use whatever art materials you have at home.
Easter was a while ago now, but I want to share some amazing artwork with you.
I was honoured to be invited to run another Crafternoon at The Higgins. This is my town’s local museum. It’s an important place to me because it houses the Edward Bawden archive. He’s one of my favourite artists.
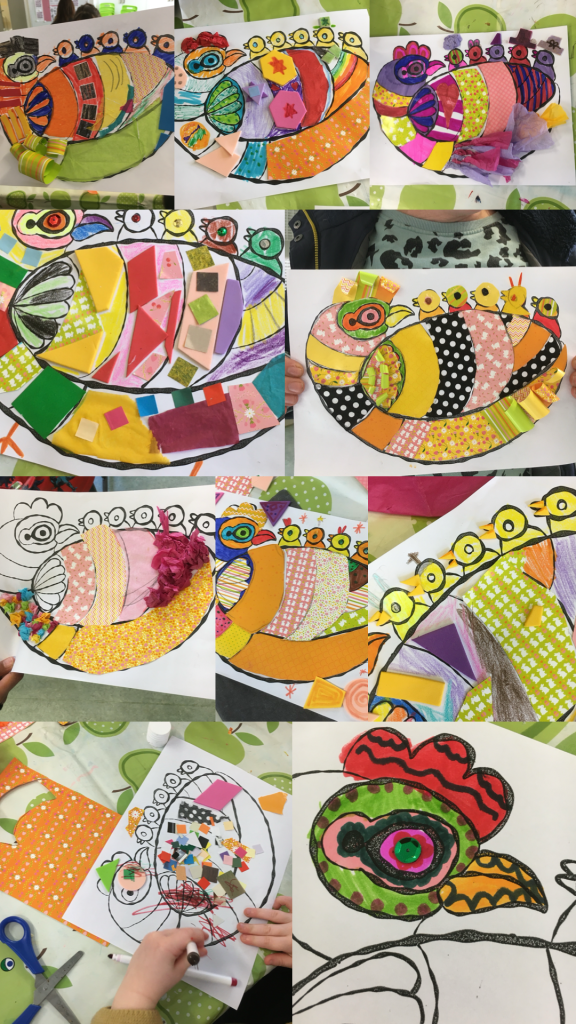
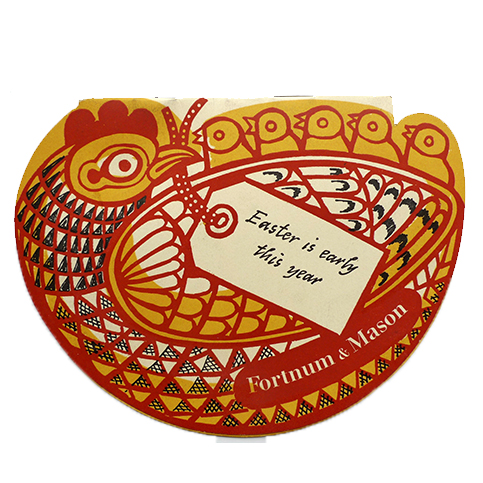
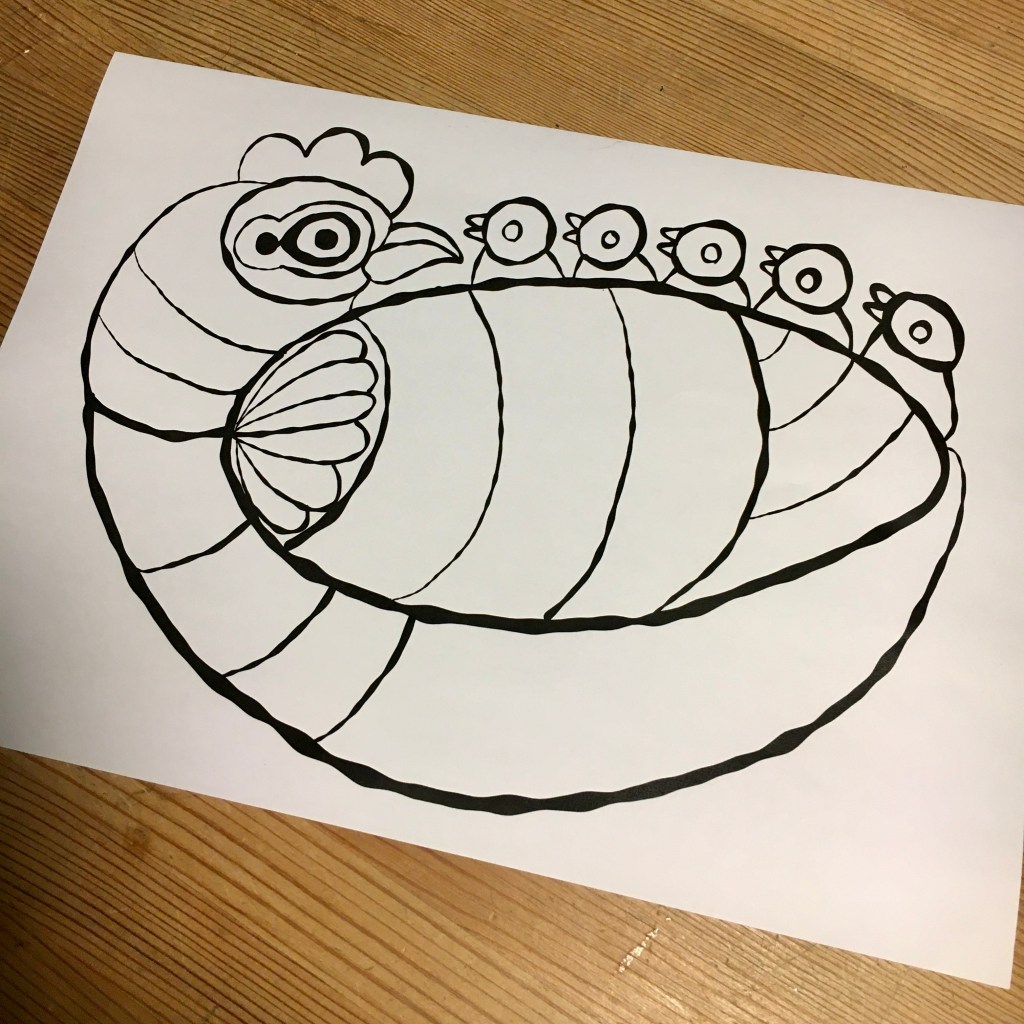
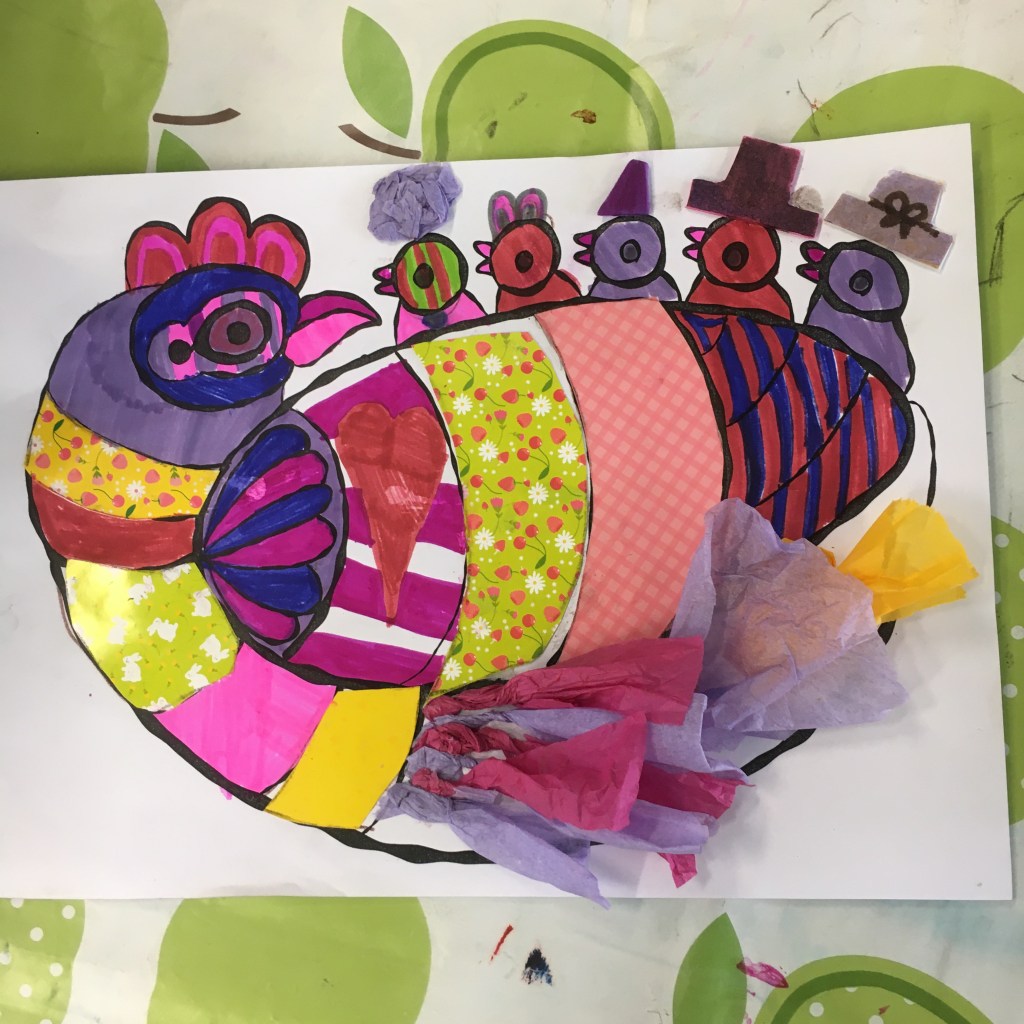
I decided to theme the crafternoon session on Easter and Bawden. I took one of his Easter designs for Fortnum and Mason and simplified it so crafters could add their own colour with creative collage. We encouraged everyone to add some personality to the chicks on the hen’s back too!
I hope you enjoy some of the work we made during the session.
The next Crafternoon I am hosting is on Sunday 16 June. We will be creating our own Bawden inspired lion. These sessions are free, there is no need to book and we supply all the materials at The Higgins in Bedford.
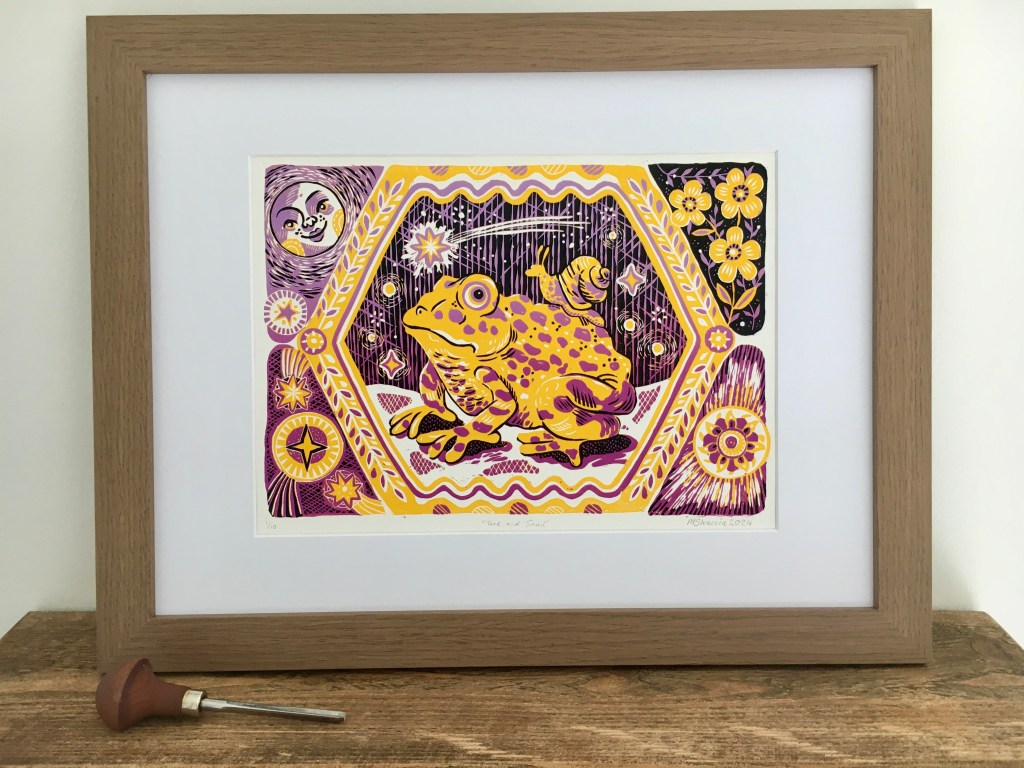
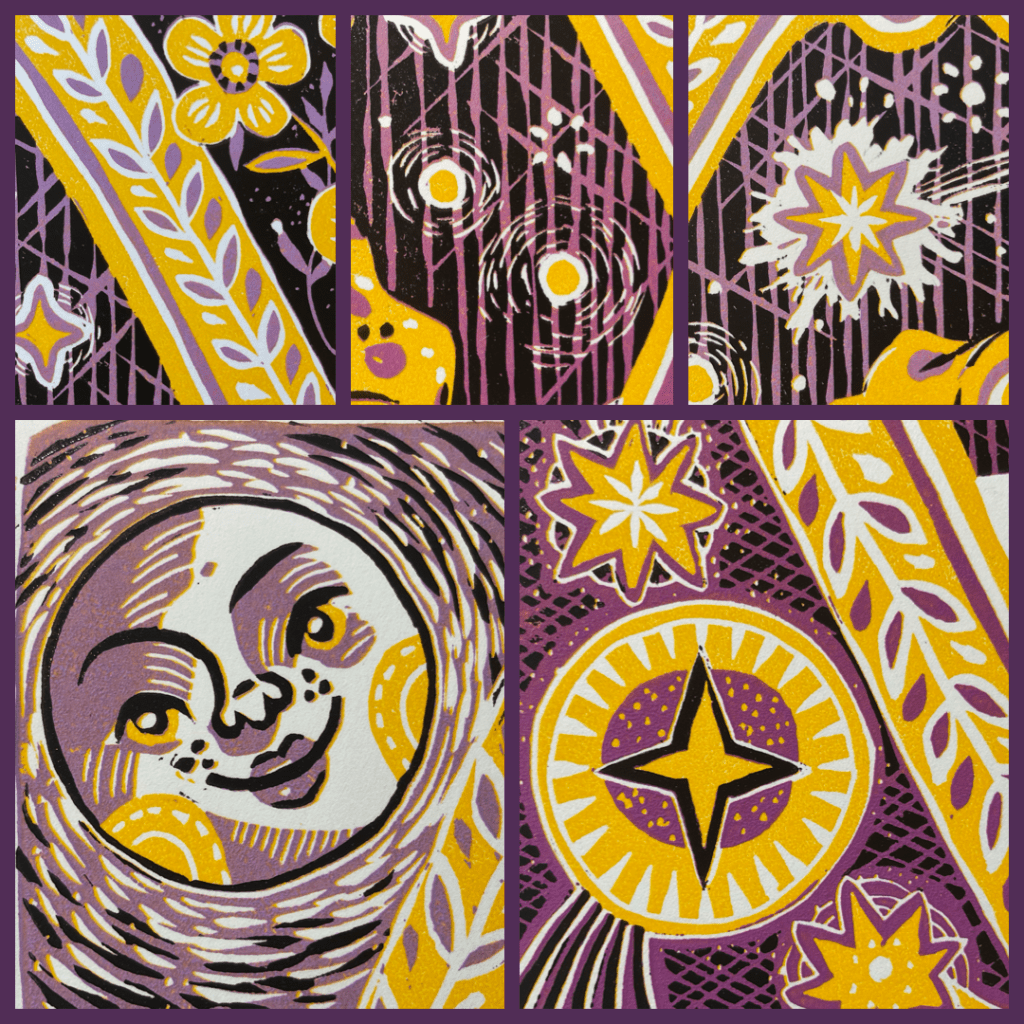
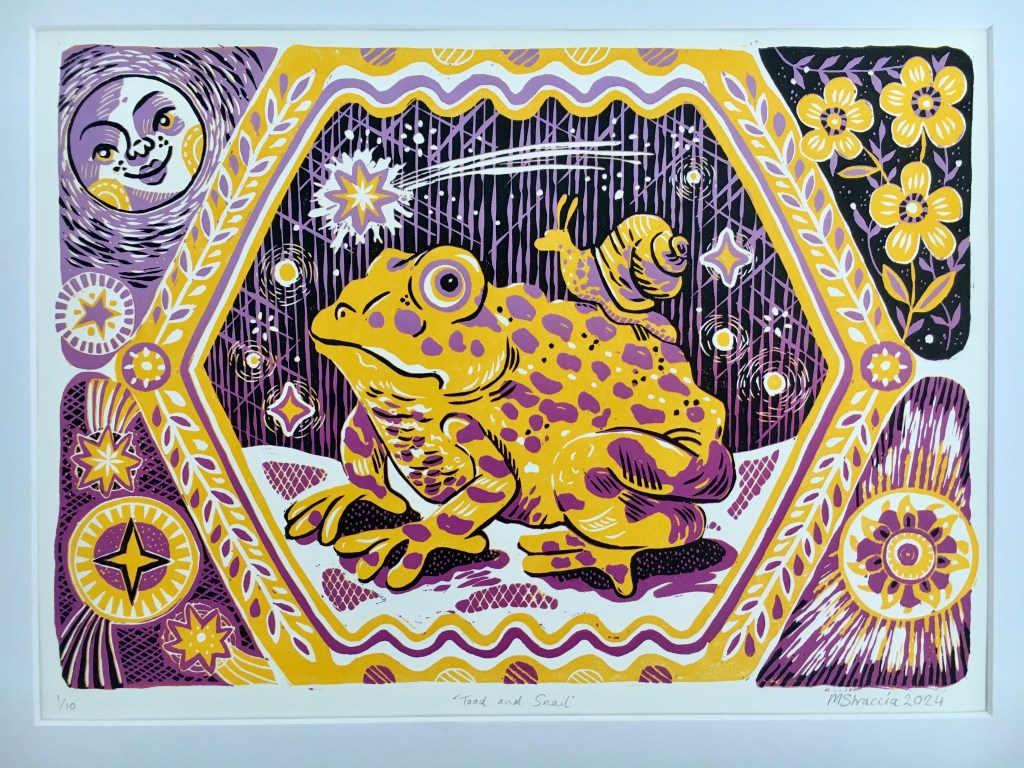
I have finished a new reduction linocut print called ‘Toad and Snail’. It is inspired by all things witchy and celestial, with the creatures in the centre of the composition and a hopeful shooting star overhead.
Linocutting is a slow, old fashioned way of printing. Slow like a snail! And because I print by hand (not by a machine) little variations in texture and ink marks will occur. You have to love these imperfections. You have to love the warts and all!
I am learning to embrace all these little mistakes. Are you a linocut printmaker too? Surly you agree! Perhaps you own a professional press and suffer fewer toad-like warts when you print!
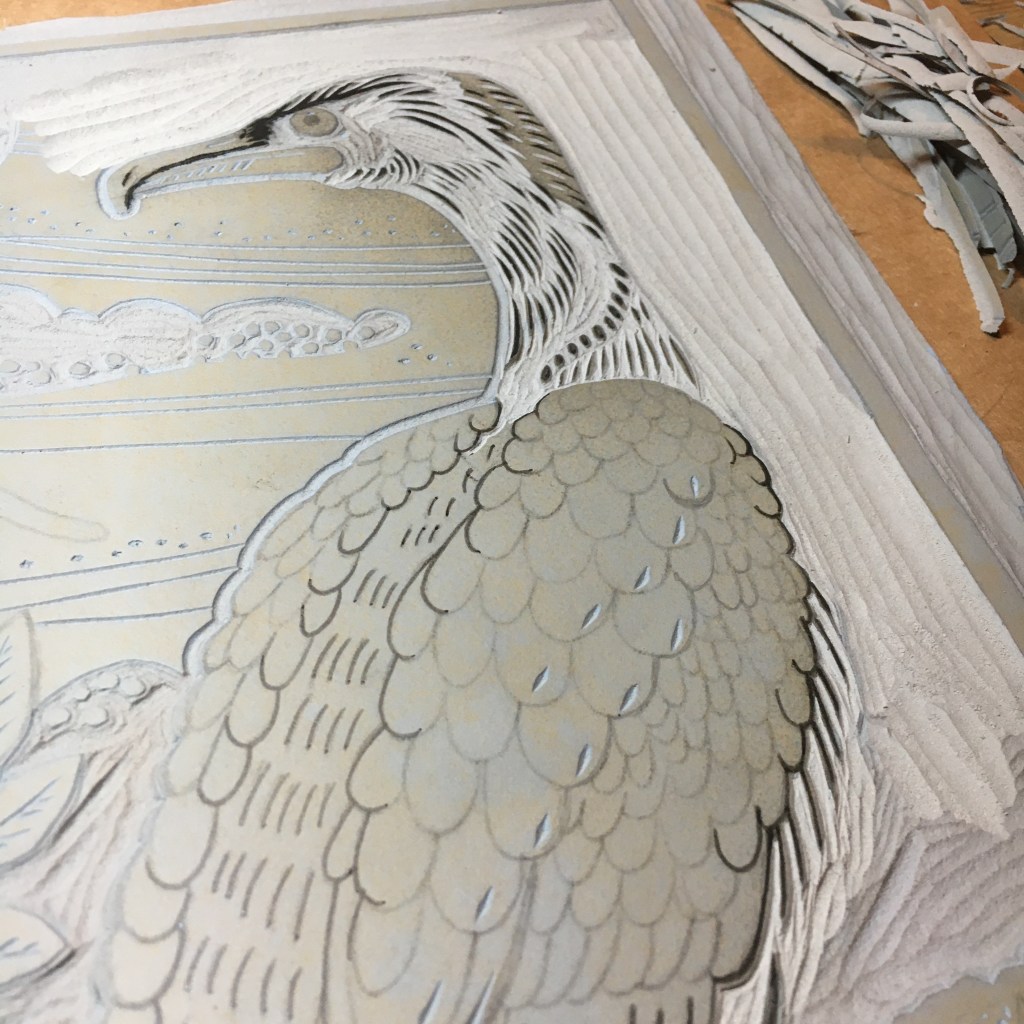
I’ve enjoyed exploring lots of texture with the cutting on this print. I’ve used hatching, I’ve played with the thickness of my lines, and experimented with a dot making tool.
In reduction printing each colour layer is printed from the same piece of lino. Lino is carved away for each layer and colour is added on top of the last, which means I can’t go back to print more. There are only ten prints in this edition.
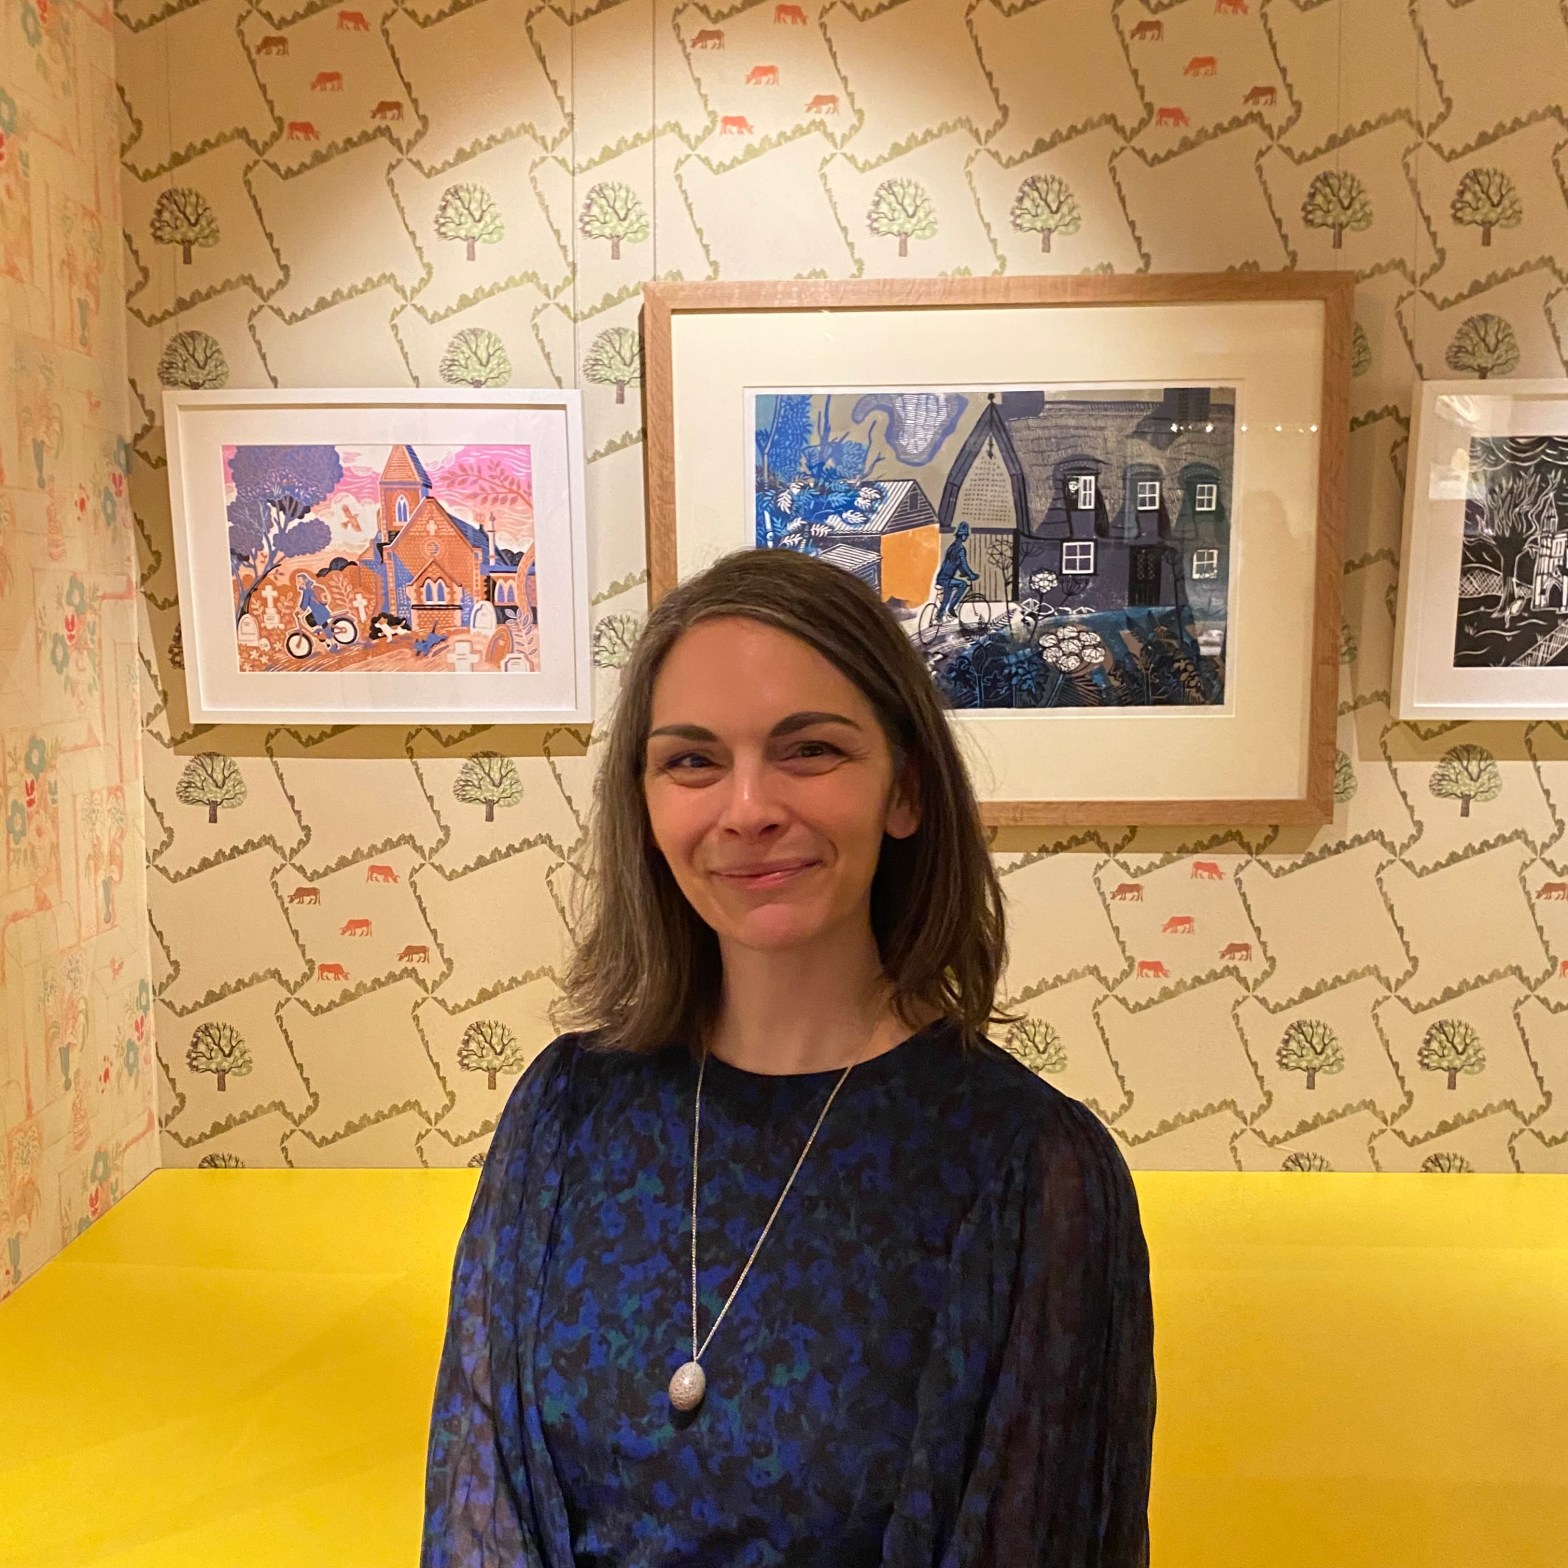
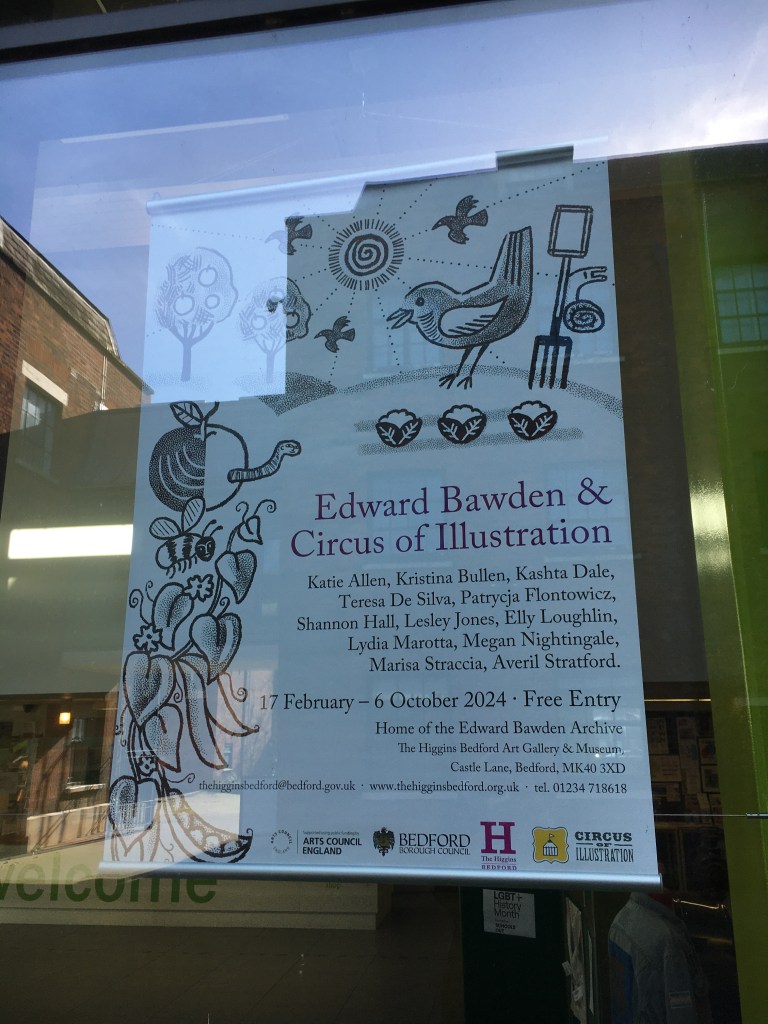
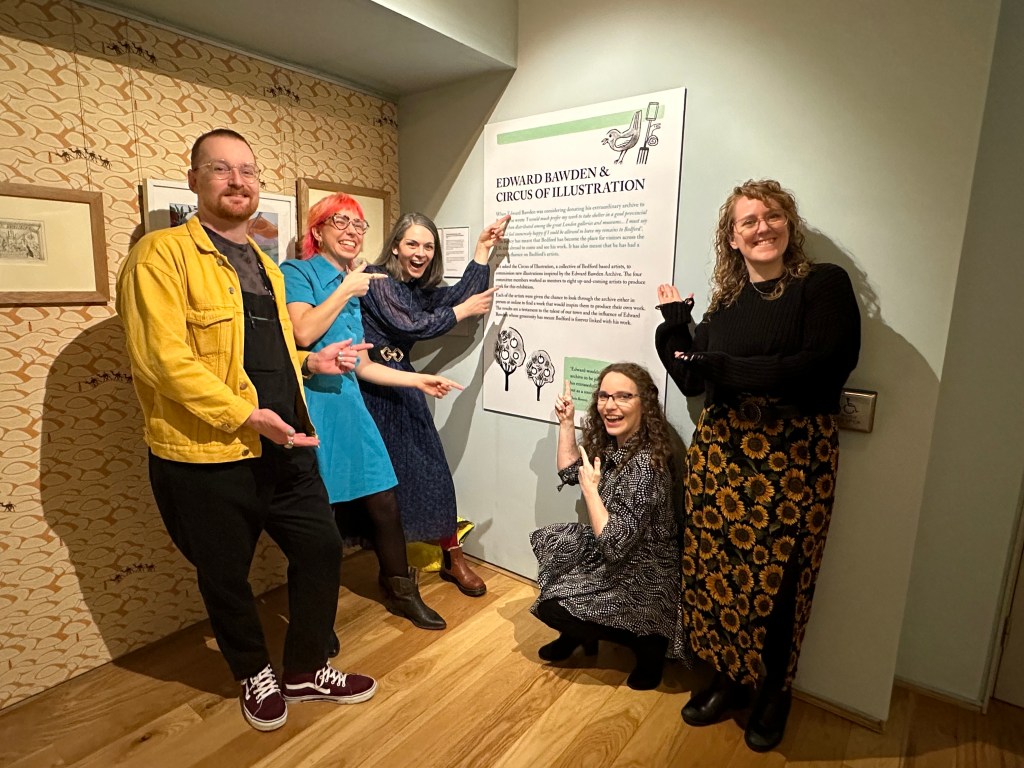
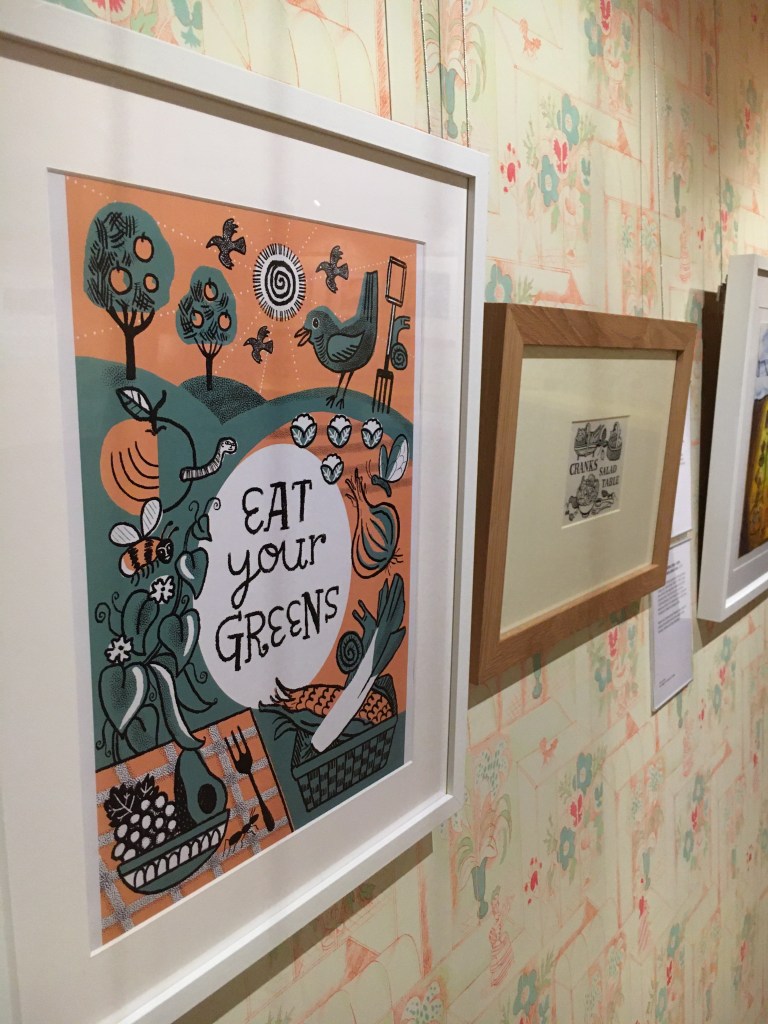
Edward Bawden and the Circus Of Illustration has finally opened at The Higgins in Bedford. It is a new exhibition that is on until October 2024.
The Circus of Illustration at The Higgins
This exhibition is a sister show to Edward Bawden and Me, which is a major exhibition, running concurrently with this show. However, our exhibition has a focus on local illustrators and artists.
Poster of Edward Bawden and The Circus of Illustration by Katie Allen
Who are the Circus Of Illustration?
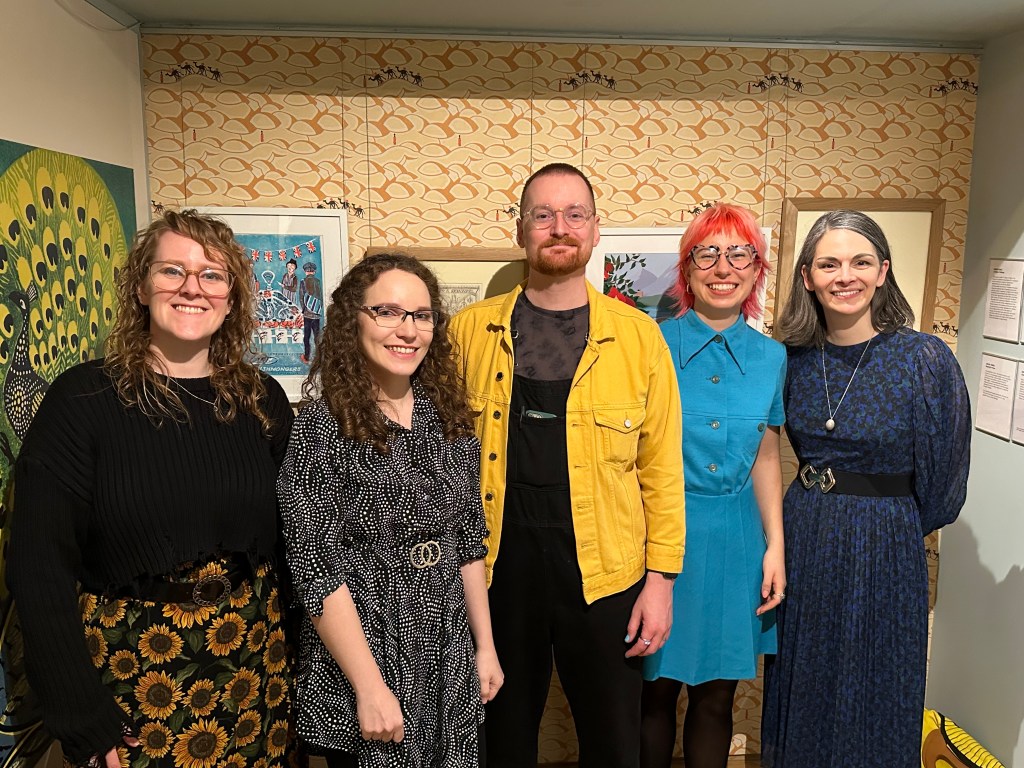
The Circus Of Illustration is an informal group of professional Bedford-based artists, designers, and illustrators, who volunteer their free time to help promote Illustration here in the town.
Since 2011, we have been promoting Illustration in Bedford. We do this through workshops, hosting exhibitions, running professional development talks, and we run our monthly social- Drink and Draw.
Like the artists in the main show, the Circus Of Illustration was approached by The Higgins to produce a brand-new piece of work which was inspired by the Edward Bawden archive. Bawden bequeathed his archive to The Higgins after he died. It is an amazing body of work which embodies 20th century, British design and Illustration.
Everyone at the circus thought it would be perfect to offer this opportunity to new talented illustrators, who live in Bedford.
We reached out to students, recent graduates, brilliant hobbyists, and people who are looking for a pivot in their career.
The work that our local illustrators and artists produced is amazing, and I thoroughly recommend that you visit The Higgins to see Edward Bawden and Me and go upstairs to the Bawden Gallery to see Edward Bawden and Circus Of Illustration. You will see that Bedford has some amazing creatives. Check out our special ‘behind the scenes’ website for sketches, animation and process videos of the work.
Bawden’s influence on us as Bedford based illustrators is really significant. We love his work and it’s privilege, knowing that it is being carefully looked after here on our doorstep at our local museum. During his career he produced watercolours, linoprints, commercial designs and took on a variety of commissions. This way of working chimes with me in my day-job as an illustrator and designer at Doodle Press.
My Bawden inspiration for the exhibition.
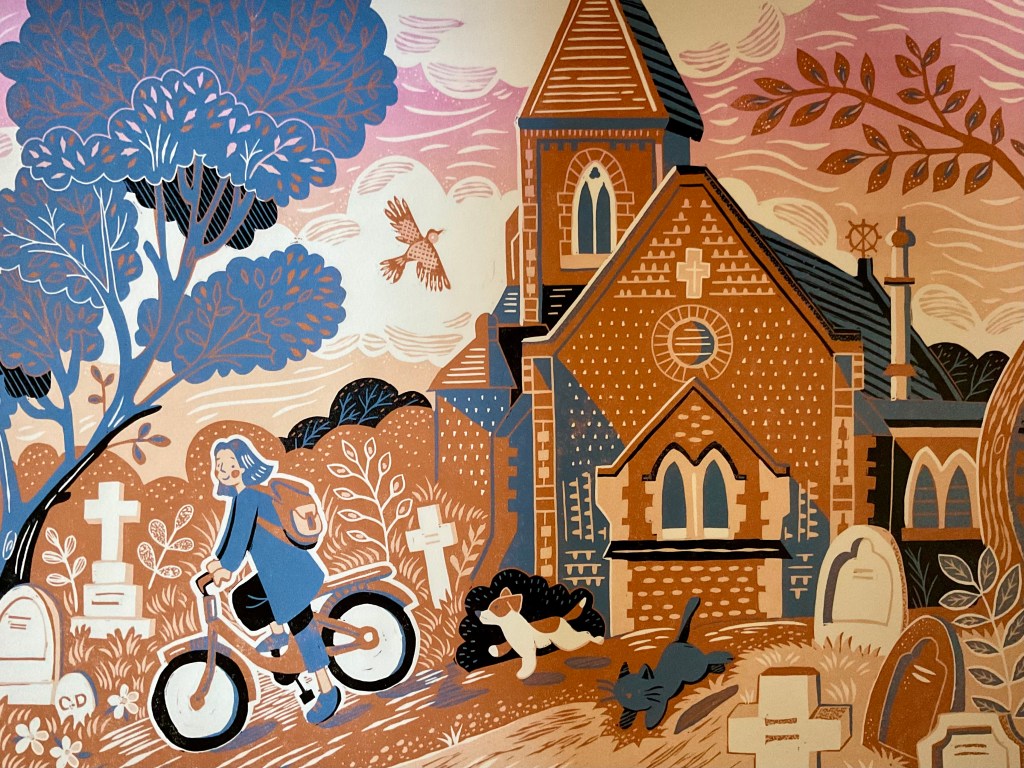
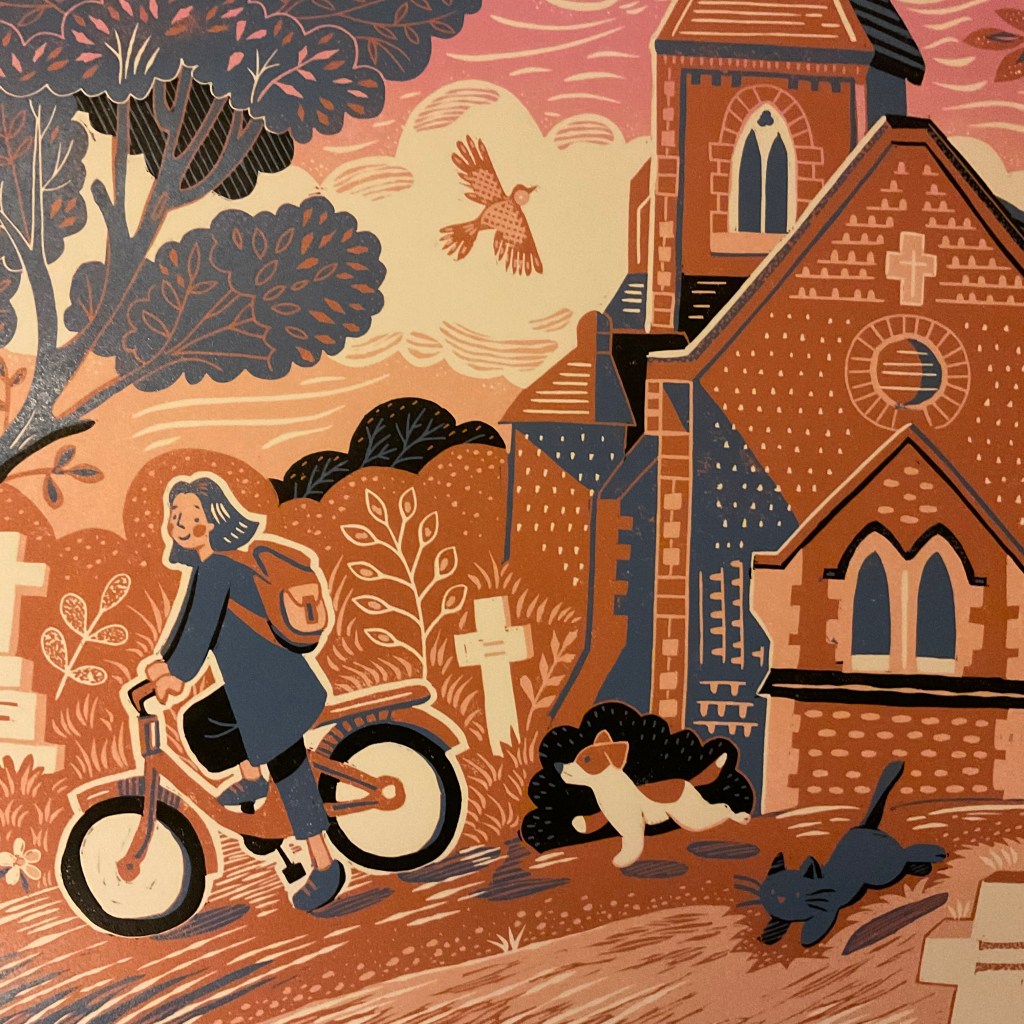
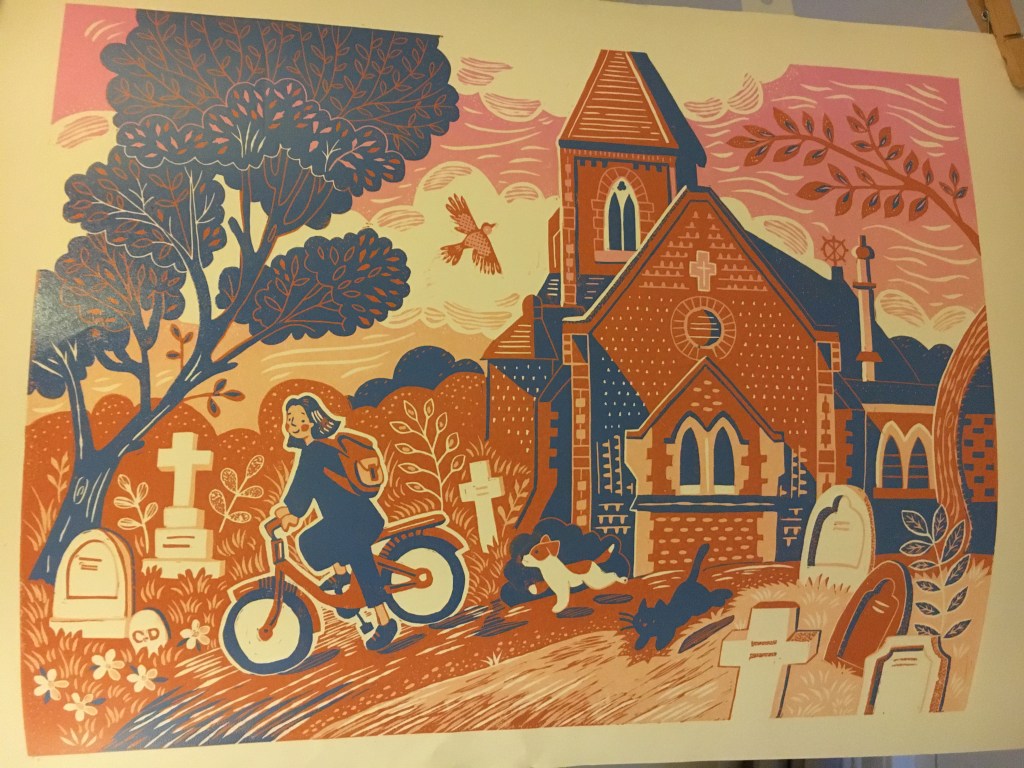
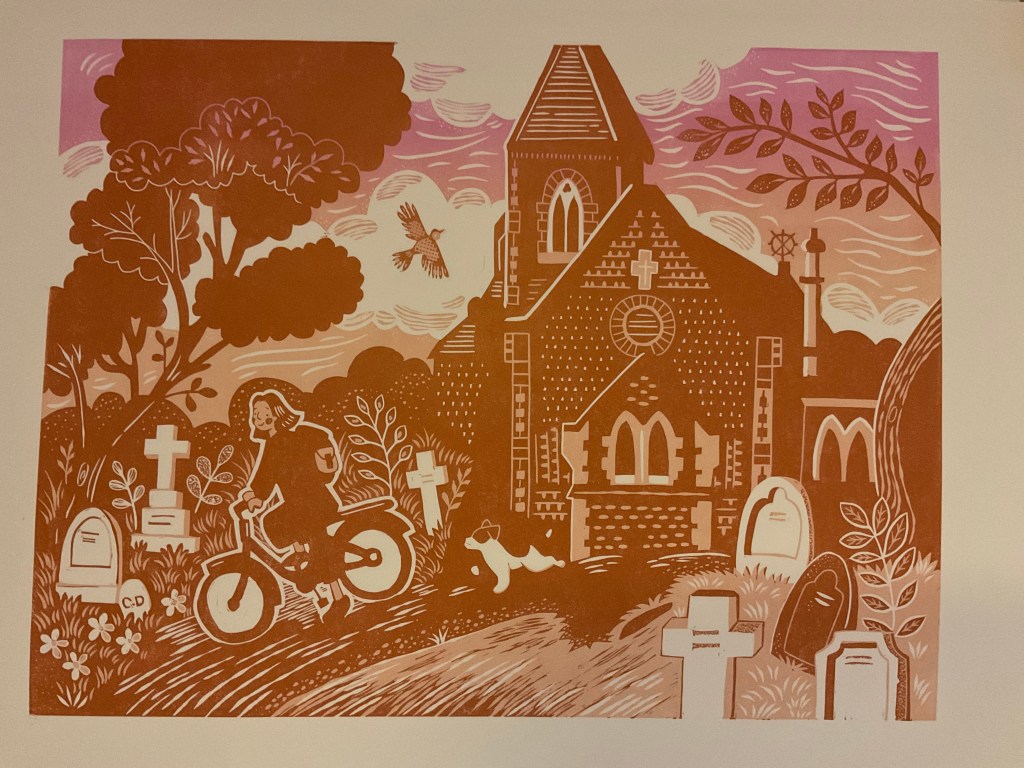
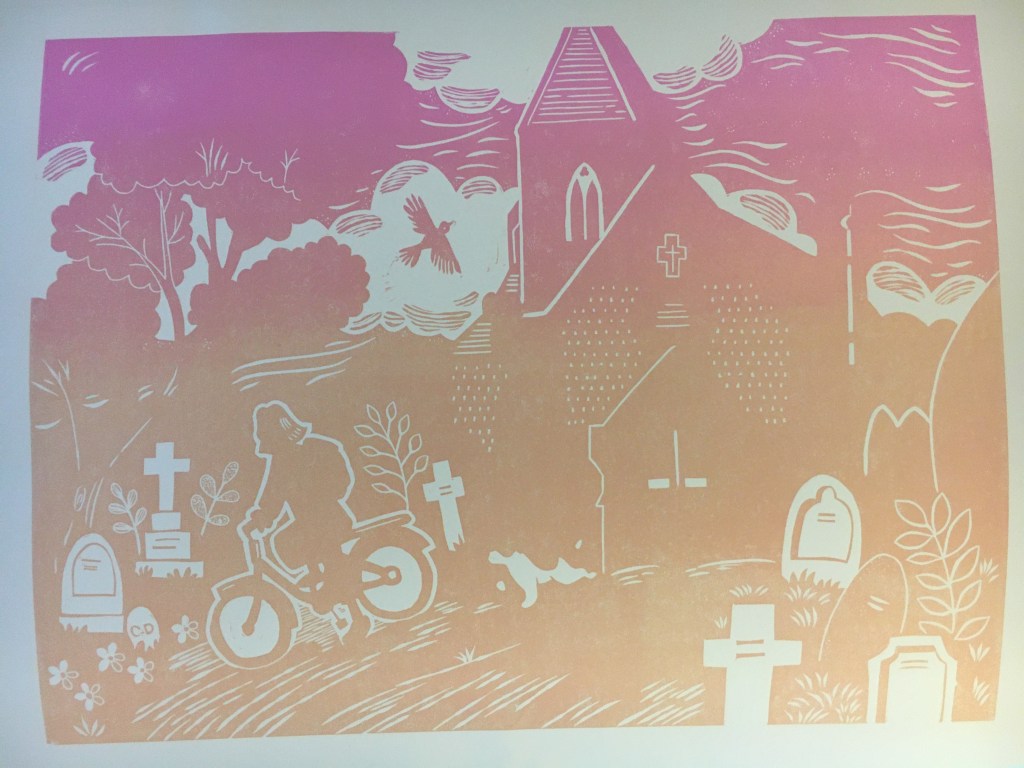
My piece for this exhibition is called ‘Meeting At The Chapel’
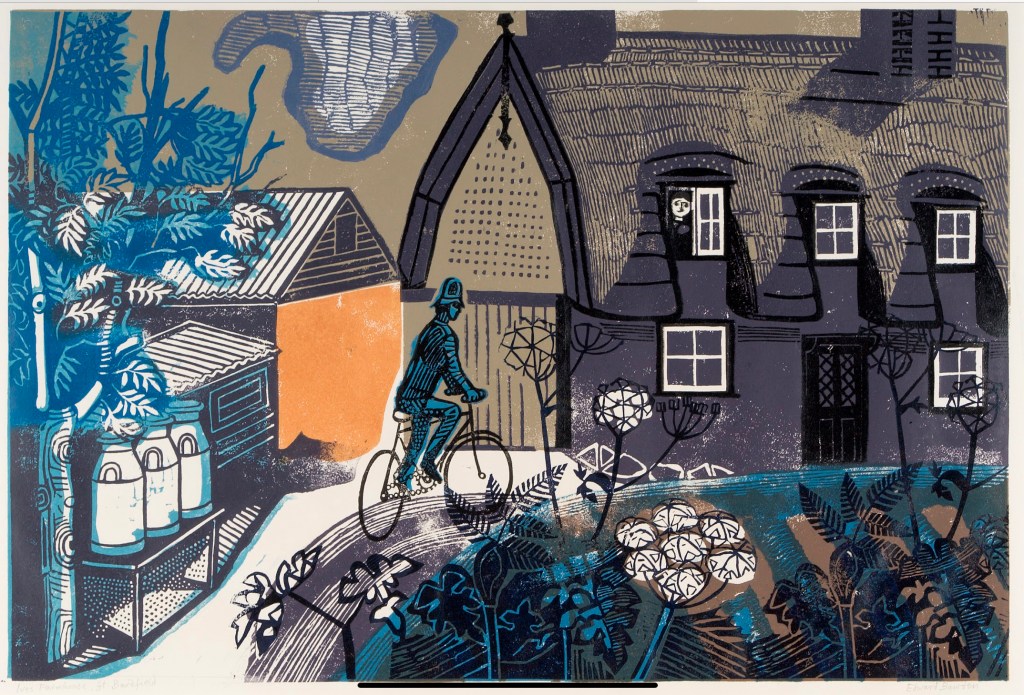
I have a postcard sized copy of Bawden’s linocut Road to Thaxted framed at home, so I was thrilled to see the real thing. I’m impressed with how Bawden simplifies subjects whilst retaining their identity. I had never noticed the person in the window before. What’s their relationship with the policeman? Could I create a similar mystery?
‘Road to Thaxted’ by Edward Bawden‘Meeting at the Chapel’ by Marisa Straccia
I do a lot of Illustration work for Foster Hill Road Cemetery, so I wanted to include the chapel in my work. You can watch a video of how I made this reduction linoprint. Each colour layer is printed by hand from the same piece of lino.
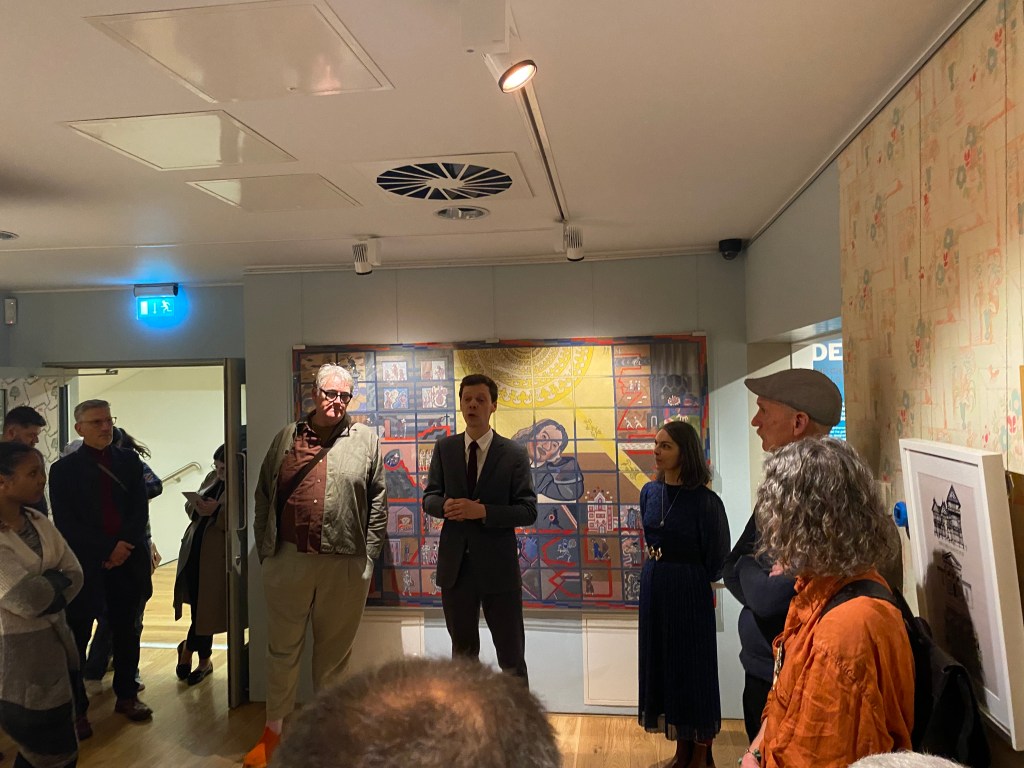
At this exhibition, our new piece of work hangs right next to the Bawden original that inspired us.
I’m so chuffed to be a part of this exhibition- it looks amazing! If you live near Bedford I recommend you visit The Higgins to see Edward Bawden and Me and Edward Bawden and the Circus of Illustration.
I have been working on a very special reduction lino cut print and I have been recording my process. I recently uploaded a video which explains how I create my reduction prints at home. I hope you find it informative. Hopefully it will inspire you to try your own print, using the reduction technique. Watch it here.
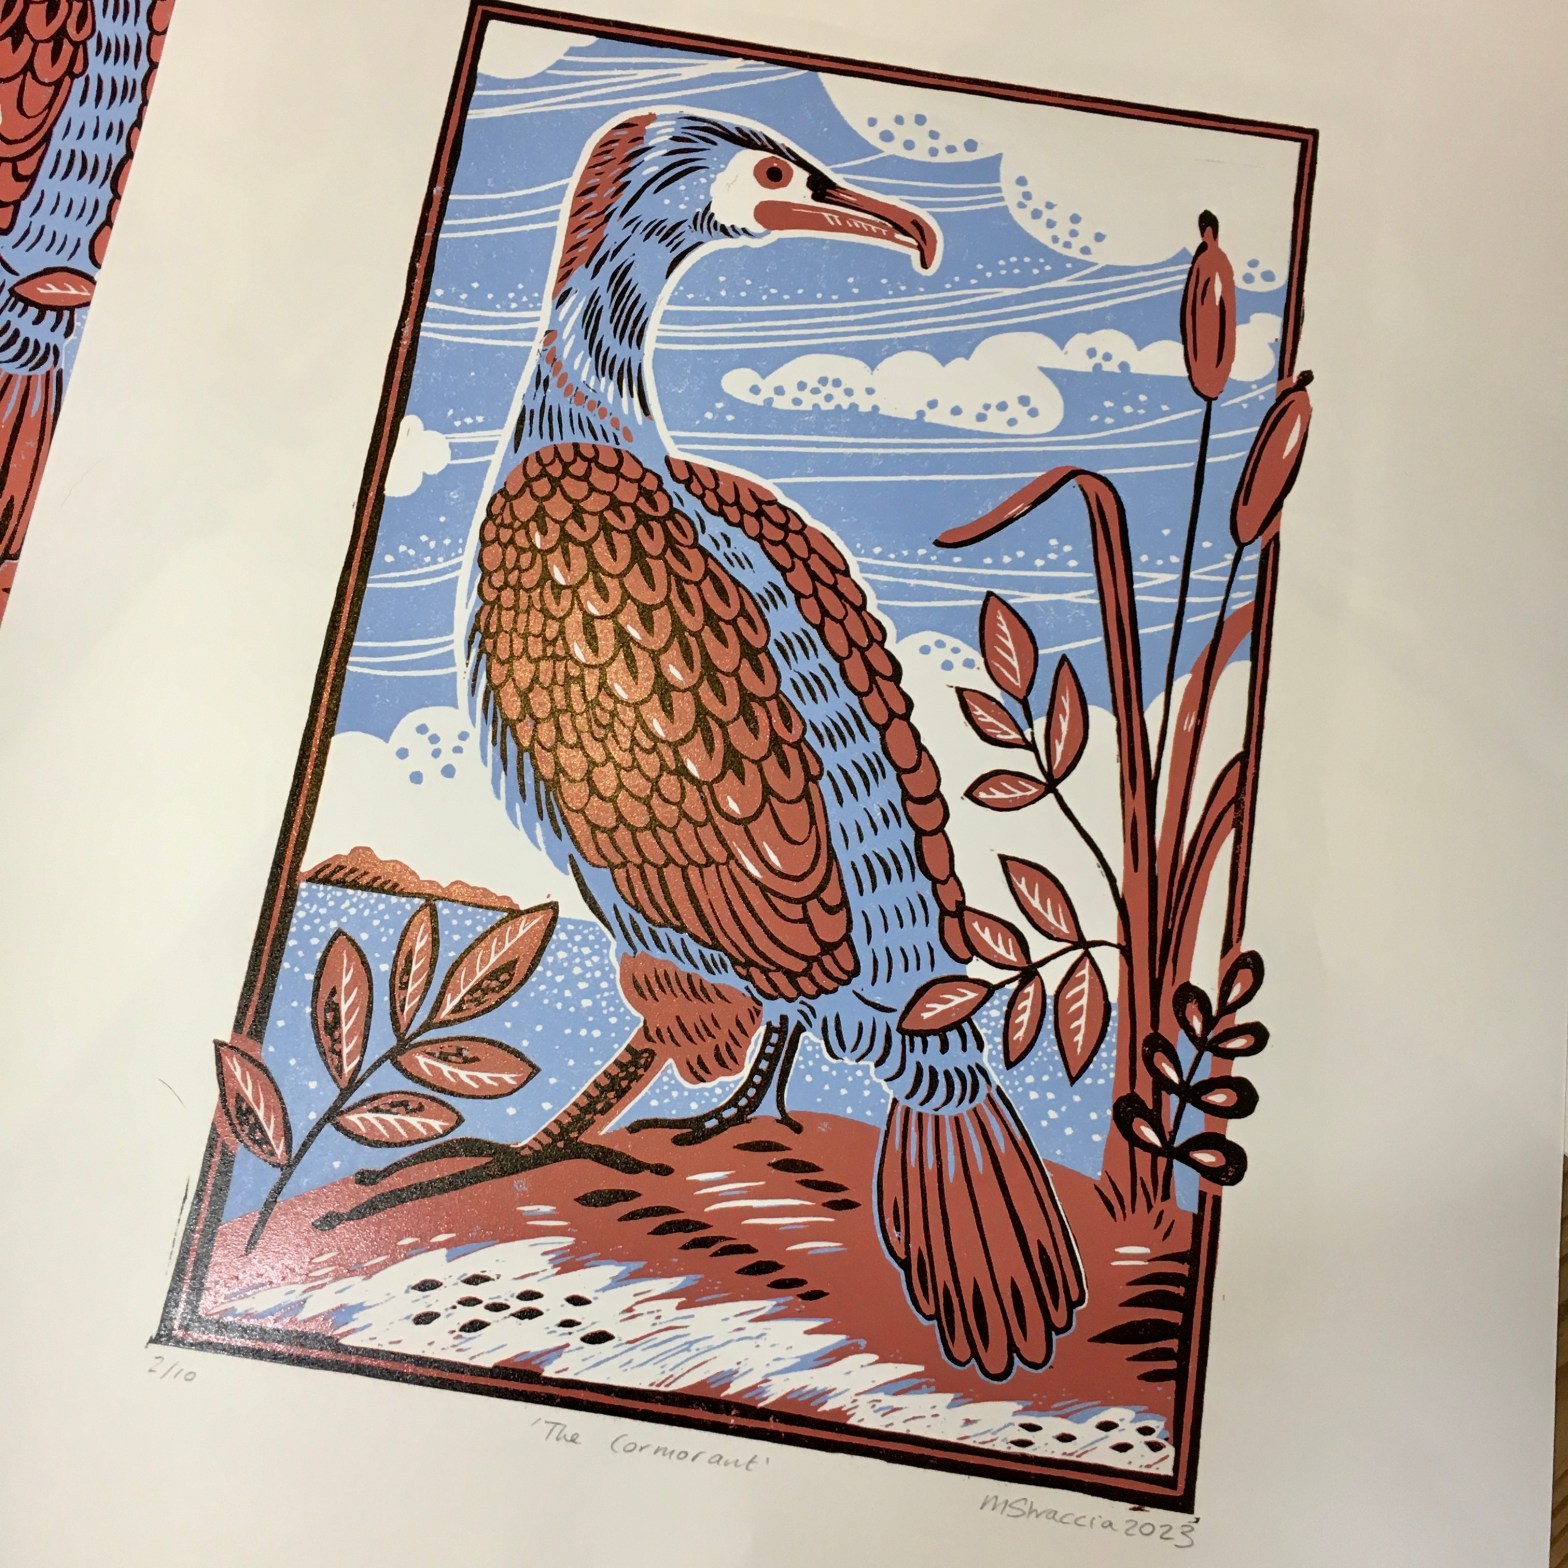
Last year I bought myself a pookie press. These are portable table top linoprinting presses that are an affordable way to print for hobbyists like myself. They are made here in the UK. My press prints up to A3 in size. It’s compact, so doesn’t take up much room in my little terrace house.
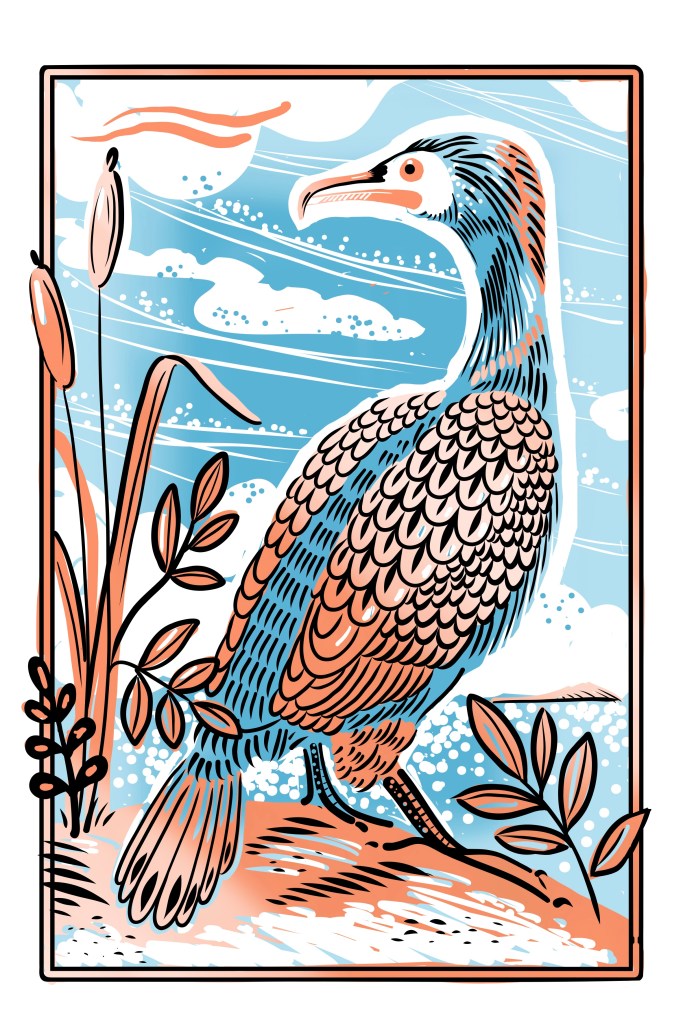
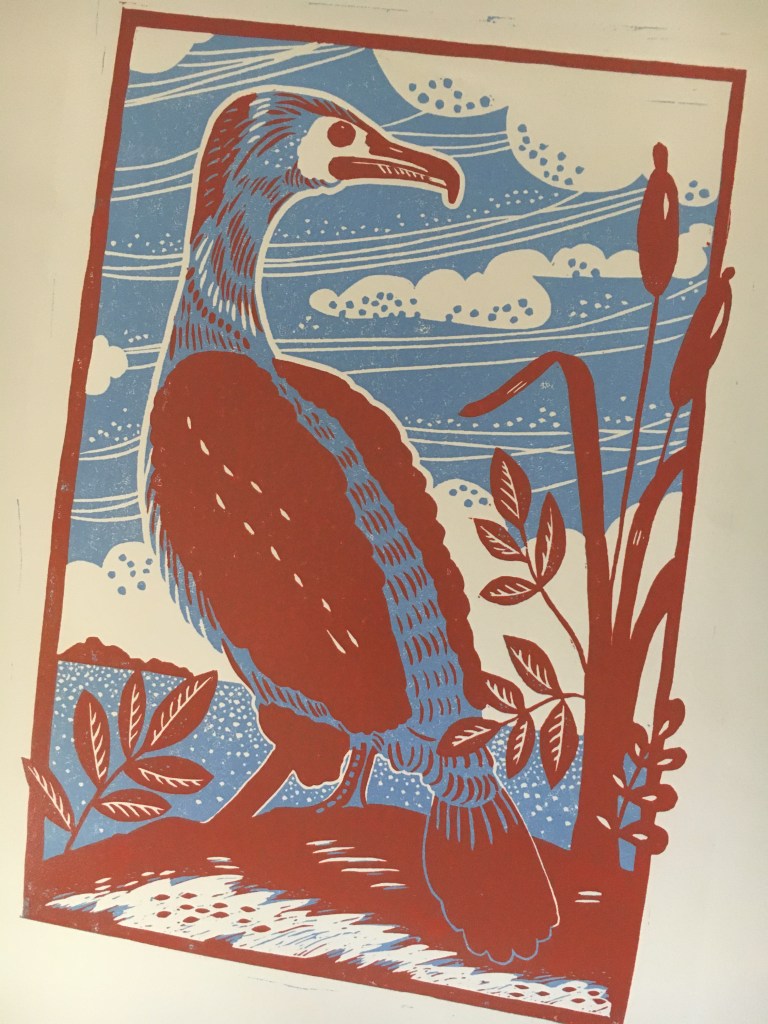
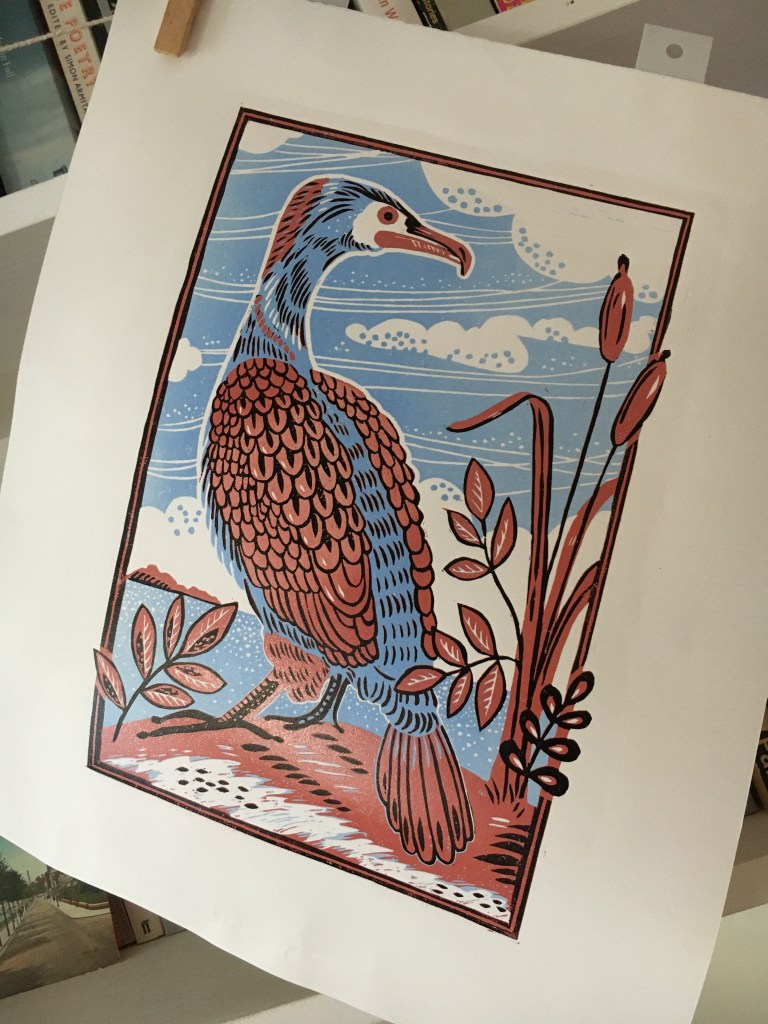
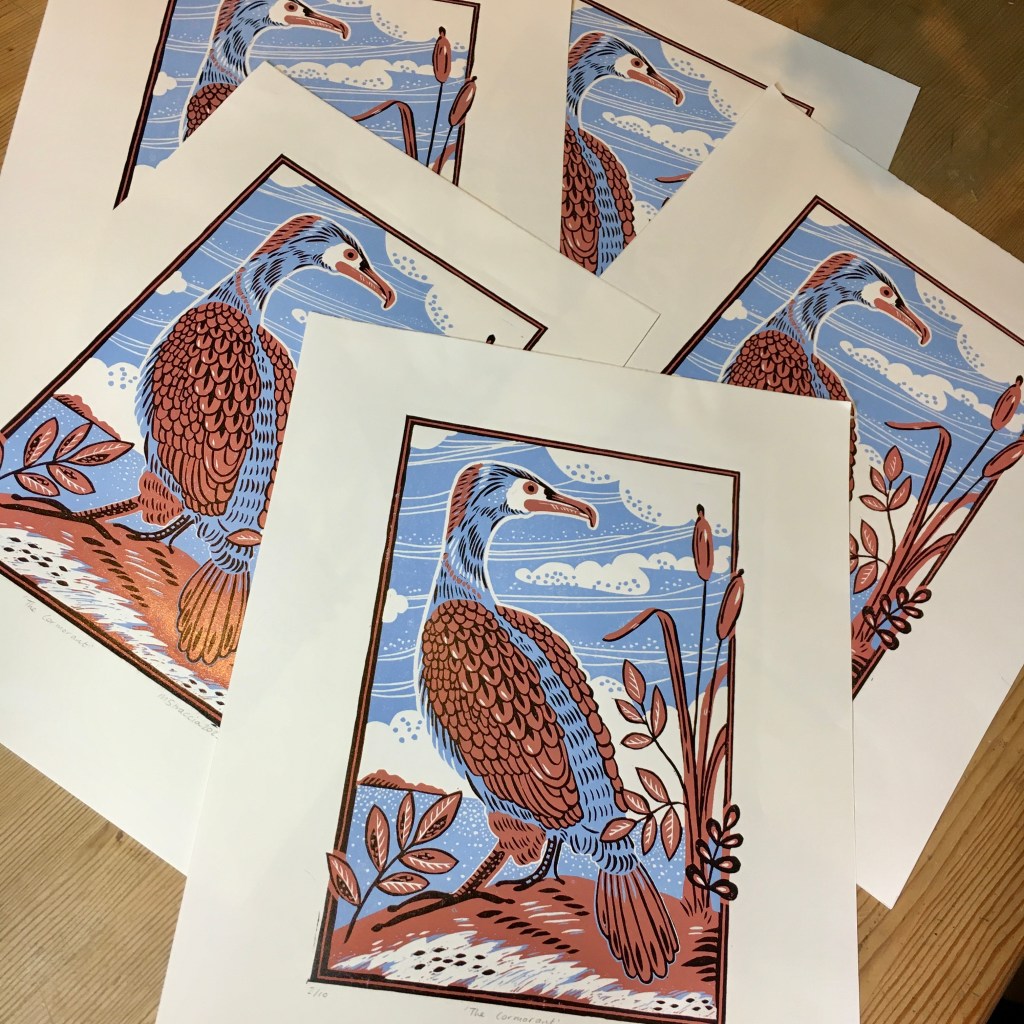
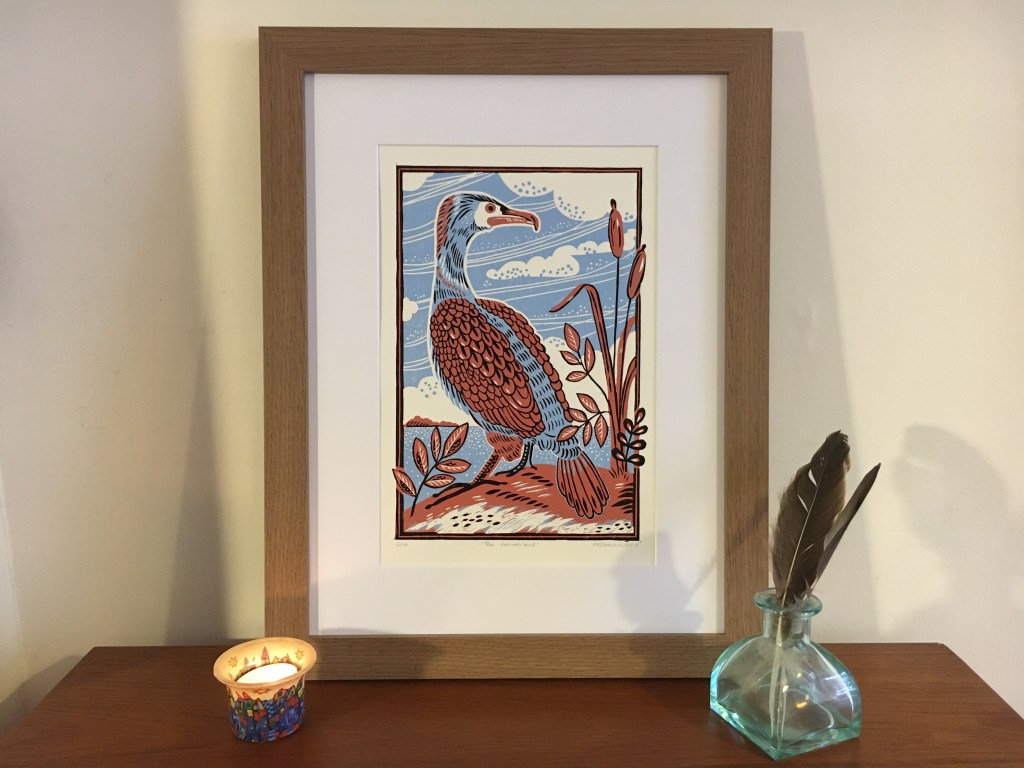
I decided to test it with my own cormorant design. I was inspired by this linocut by Richard Bawden. I frequently buy this design on a greeting card to give to friends who are also nature lovers and I love watching the cormorants near where I live at Bedford Priory Marina.
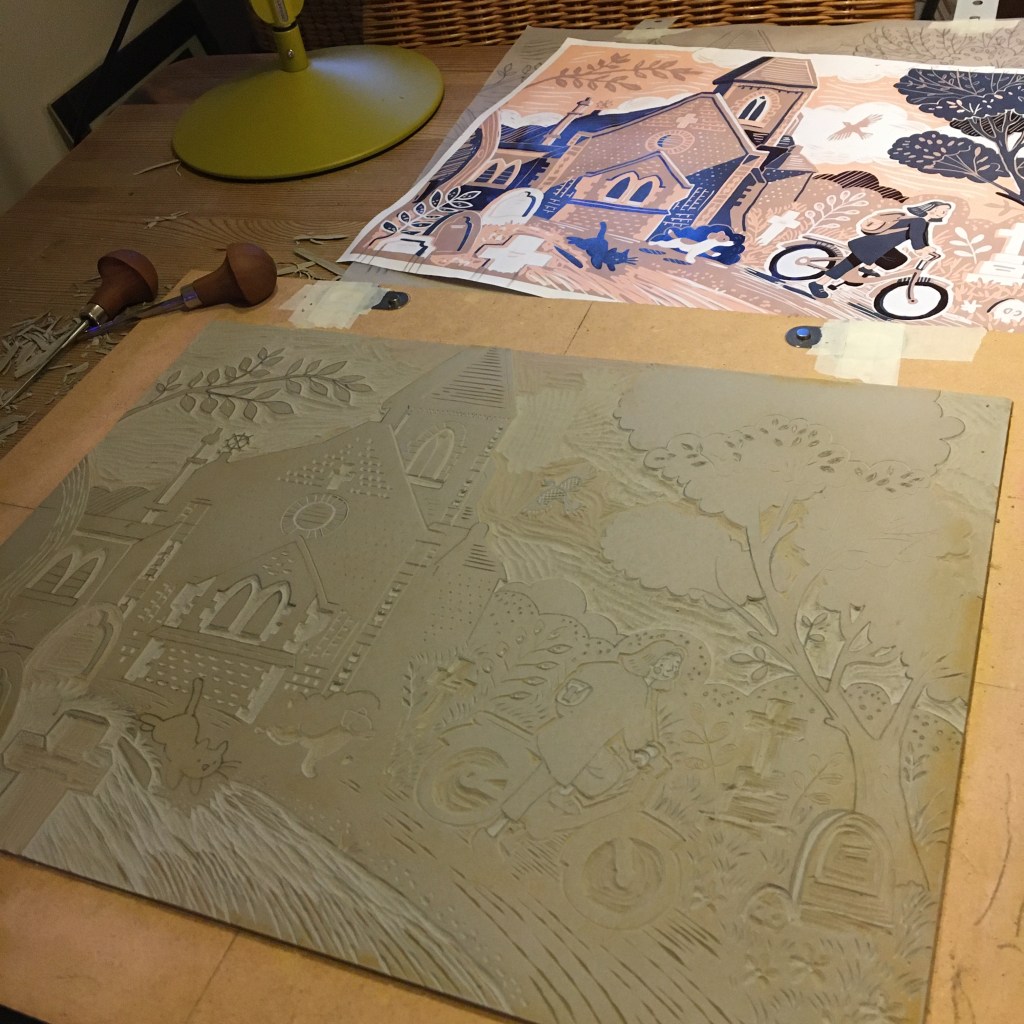
Above, you can see my process in pictures. I use this method for every reduction print I make.
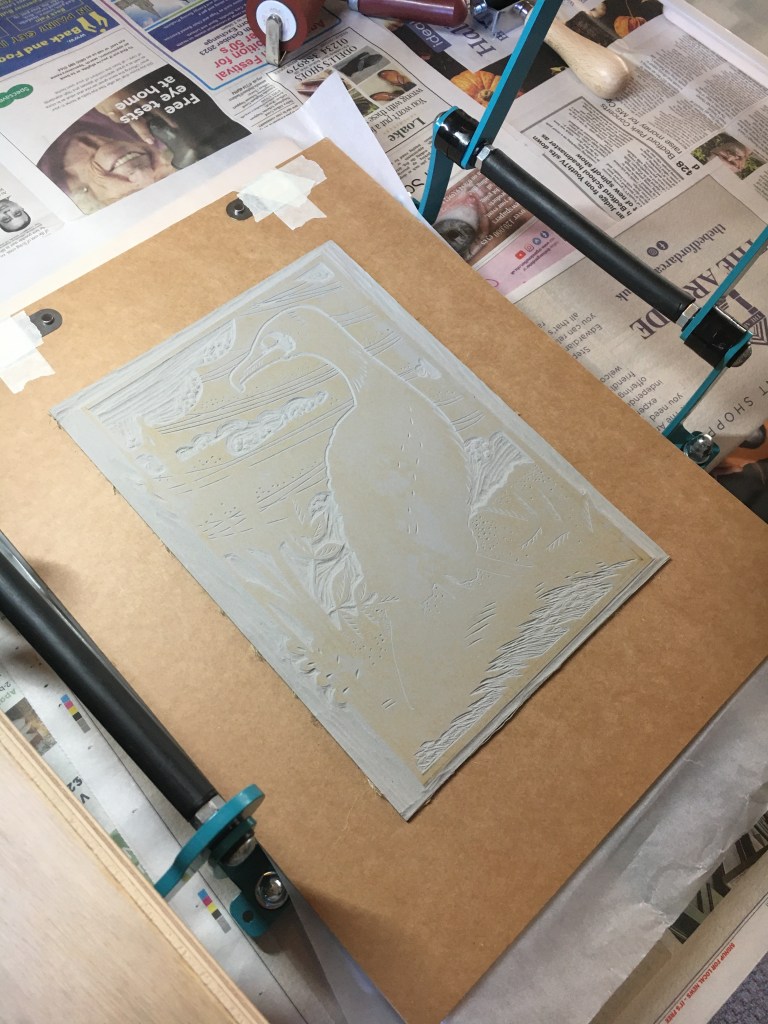
I sketch my design in my sketchbook using watercolour to test colours. Then I use the Fresco app on my iPad to finesse the design. I trace the image onto a piece of lino (I used traditional battleship grey lino). The lino is stuck to a board using carpet tape. I use terne burton pins to achieve a perfect registration.
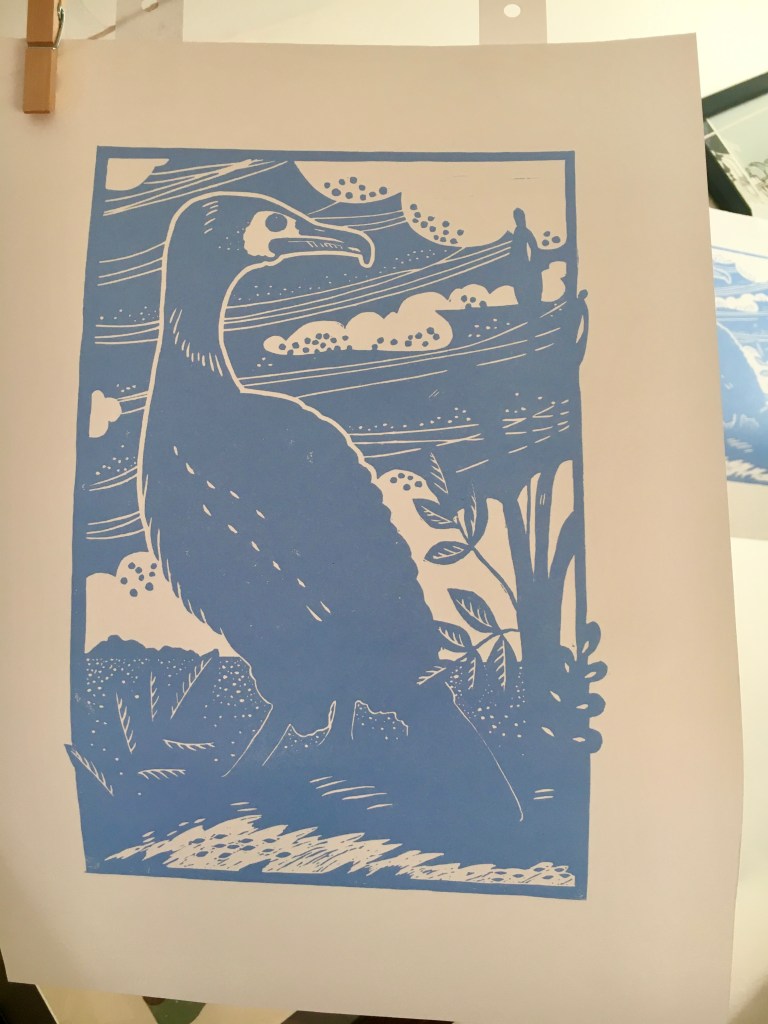
Then I carve away parts of the lino, ink the remaining surface and print a blue layer, then carve away more material, print orange onto the same piece of paper, and then carve away some more, then print the final black layer. Each time a colour is added to my paper it must be in exactly the same place to my lino or the print will be off and all my time will be wasted! Three colours are printed using the same piece of lino.
When I sell reduction prints at markets, it’s difficult to explain my process. I hope this helps!
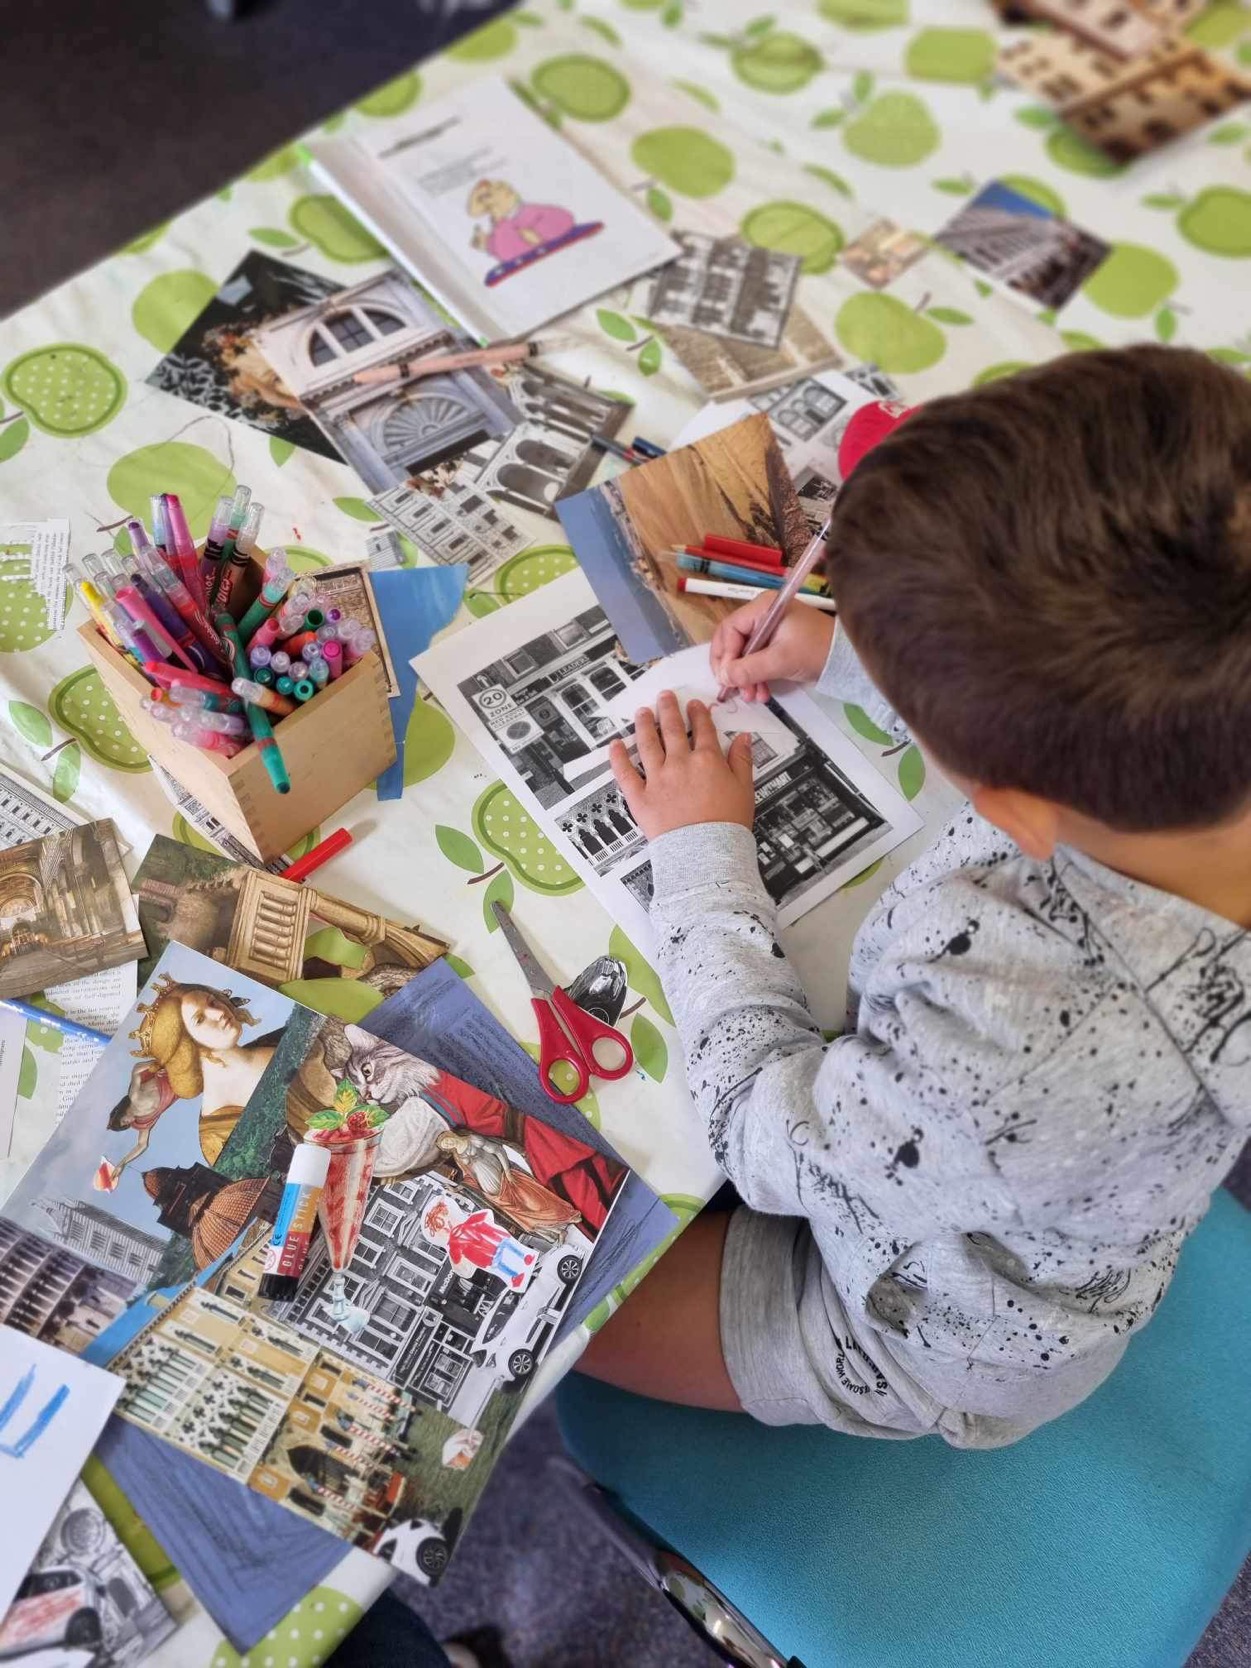
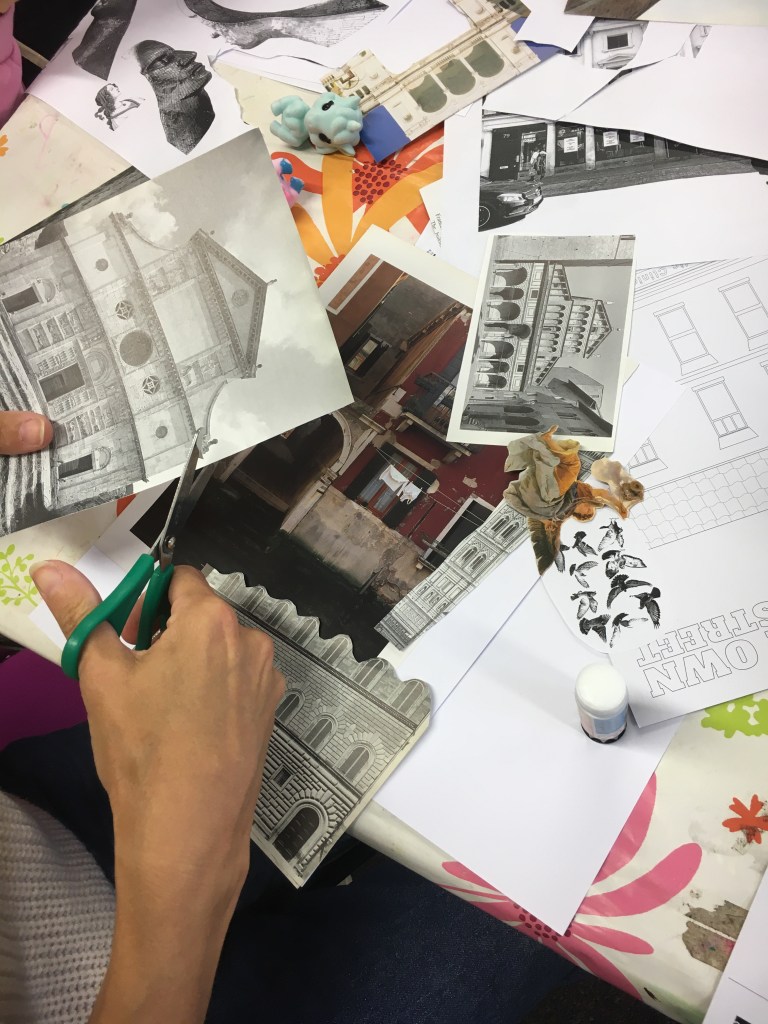
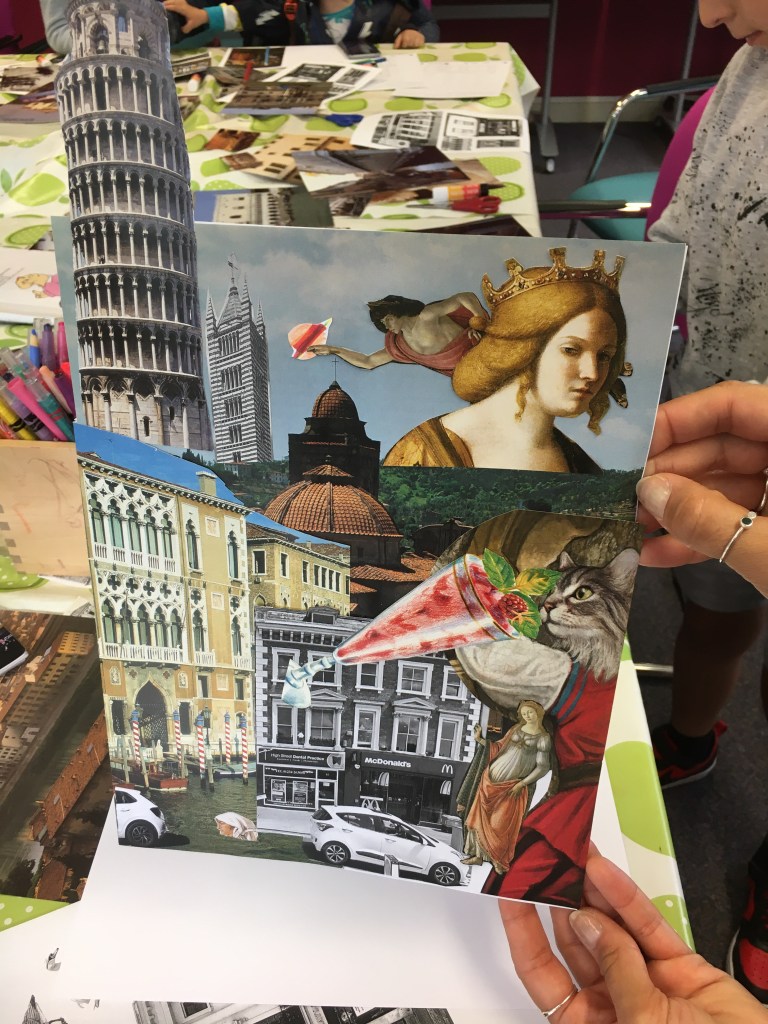
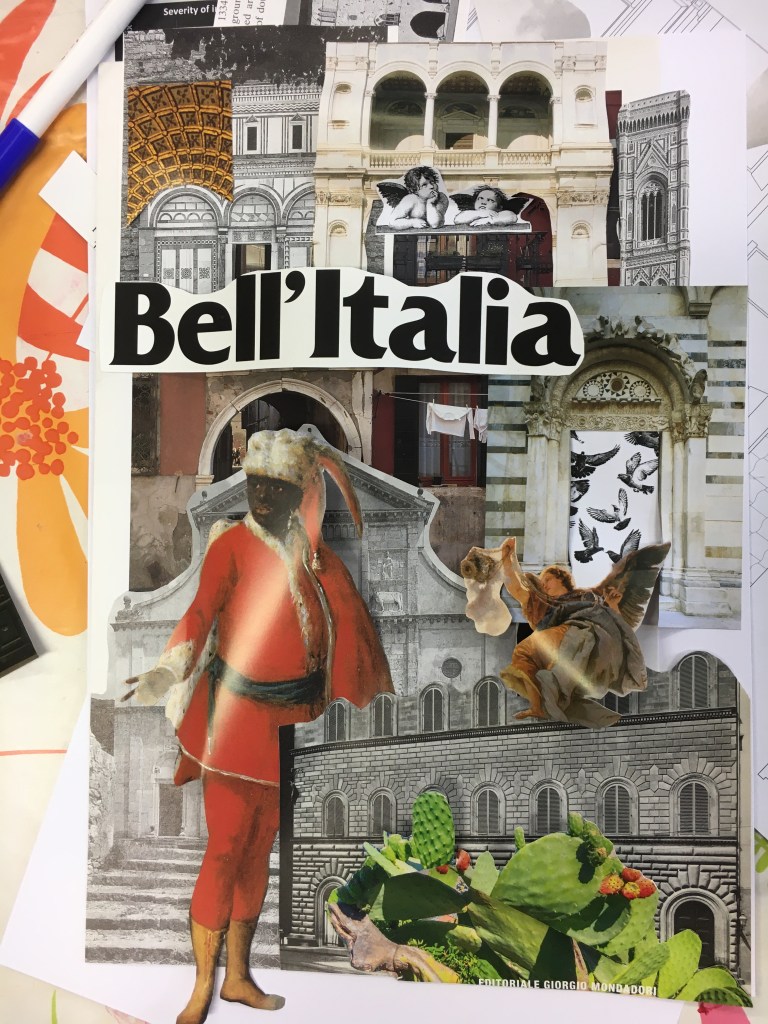
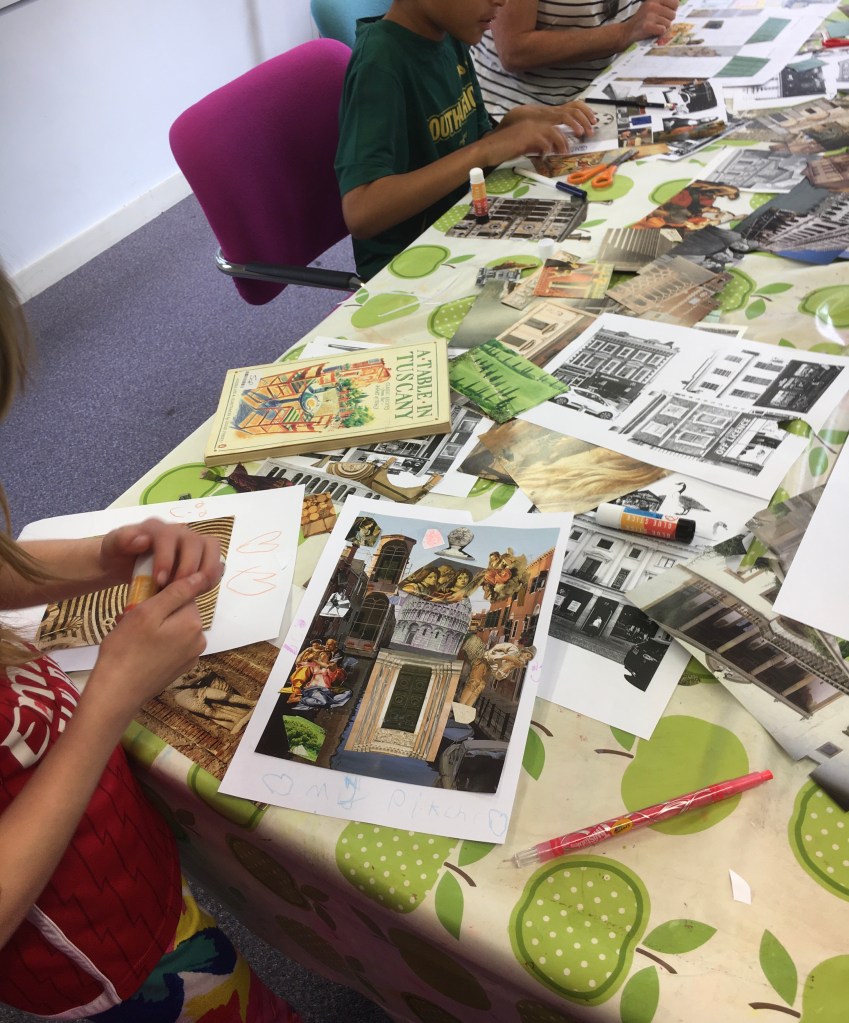
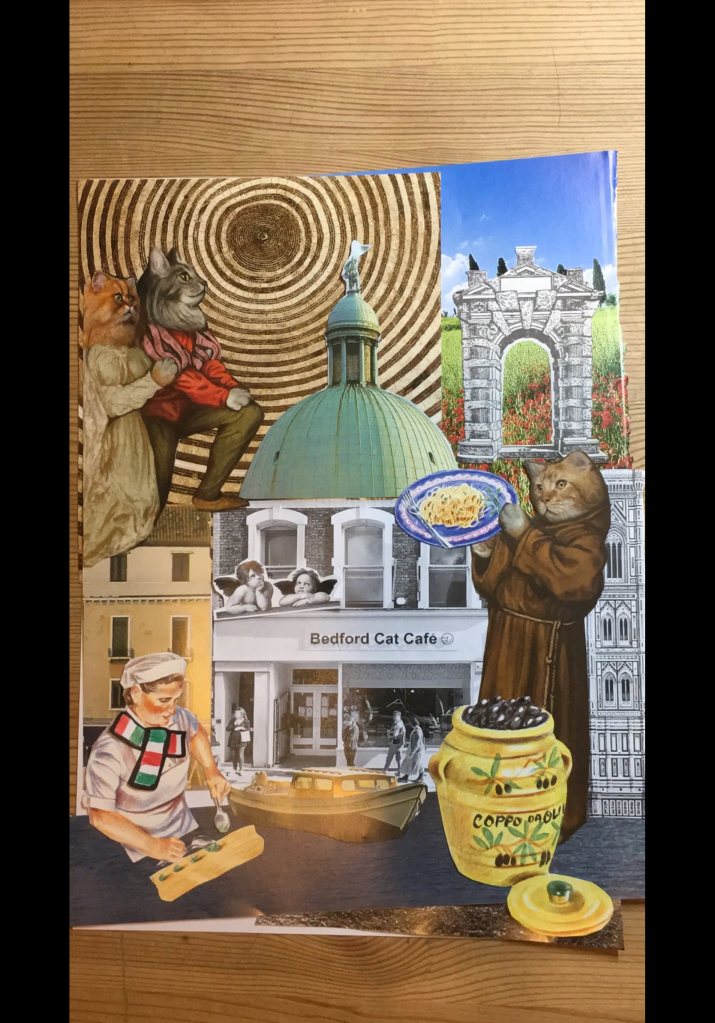
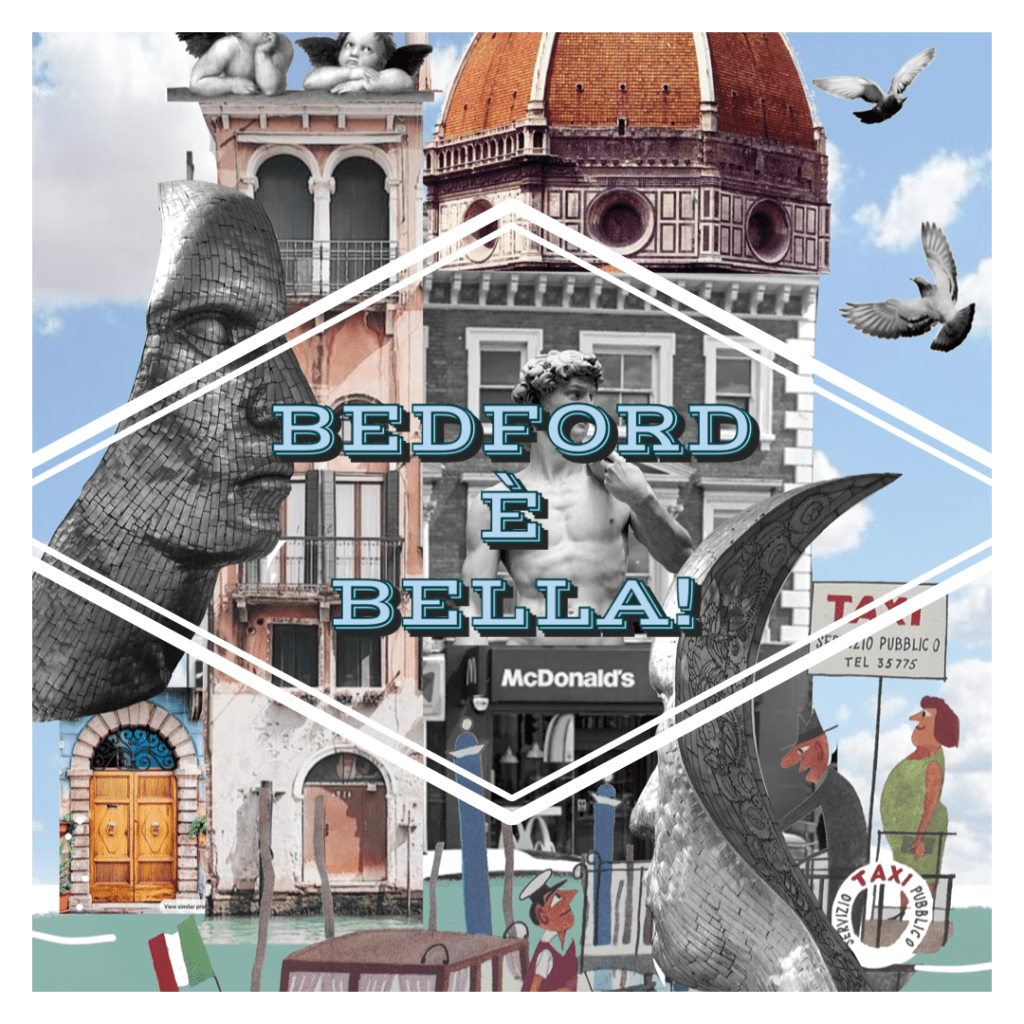
Bedford High Street was transformed at my first kids art workshop. I was asked to come up with an arts activity that would celebrate Bedford’s Italian connections. It was an event organised by Dr Selena Daly from University College London. She is a lecturer in Italian studies and researches the social and cultural history of modern Italy. Her interest in migration has lead her to Bedford, where apparently one in five of us have Italian heritage (I do!). We got funding for this activity by High Street Heritage Action Zone, with support by Historic England via Bedford Borough Council.
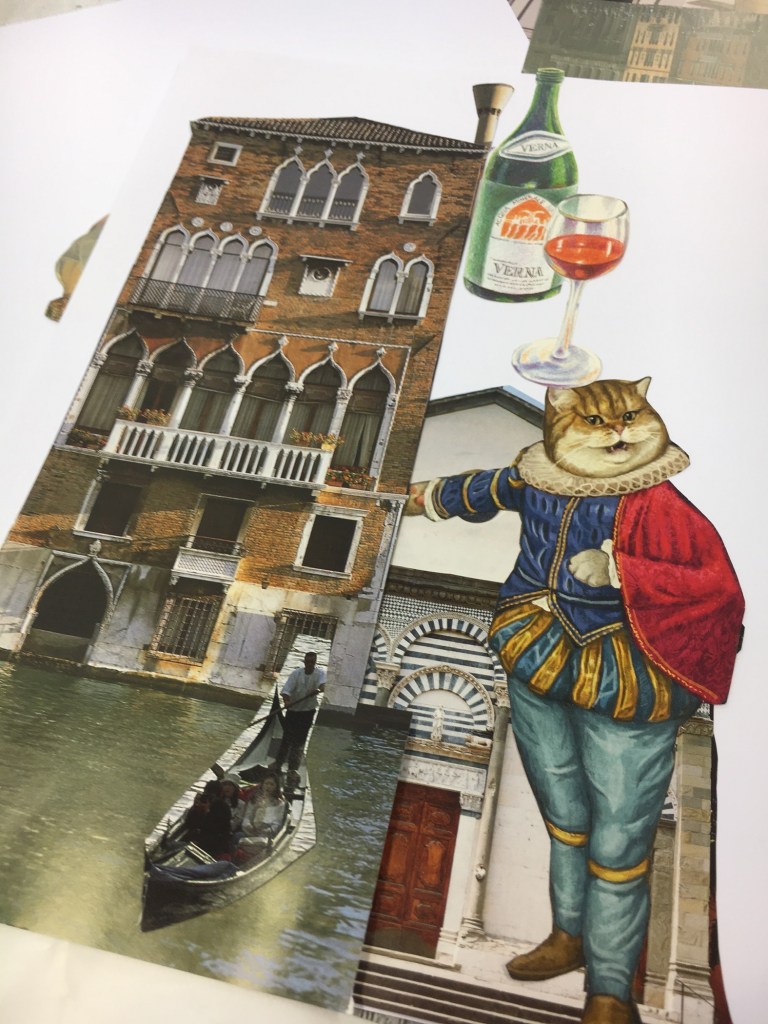
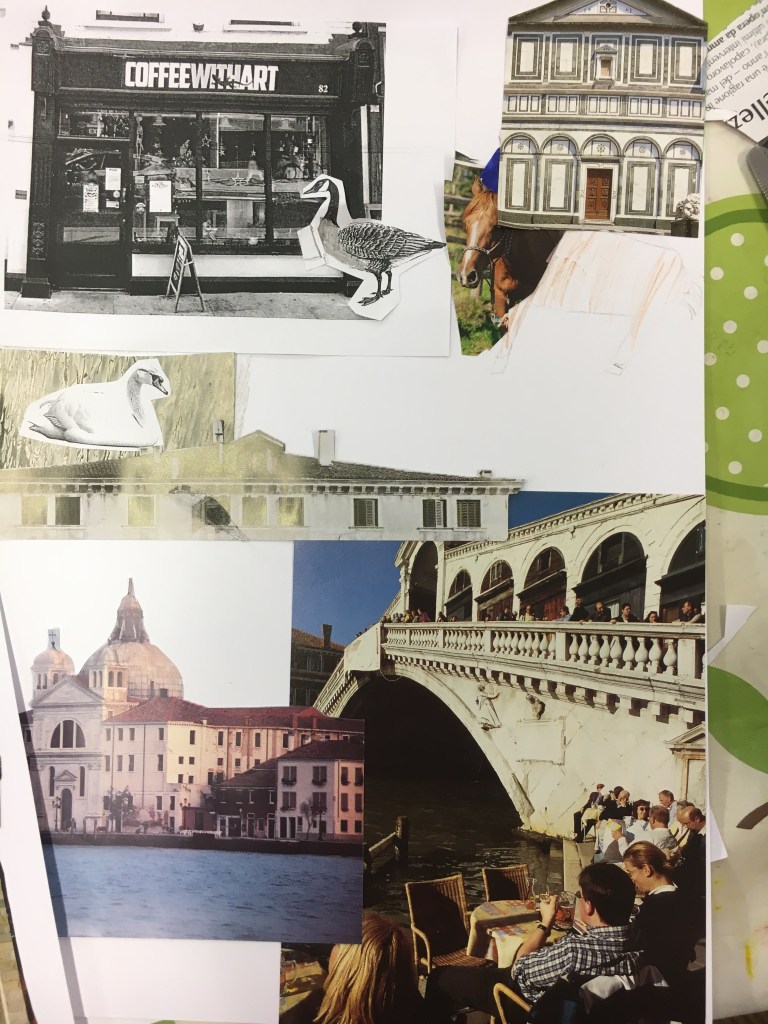
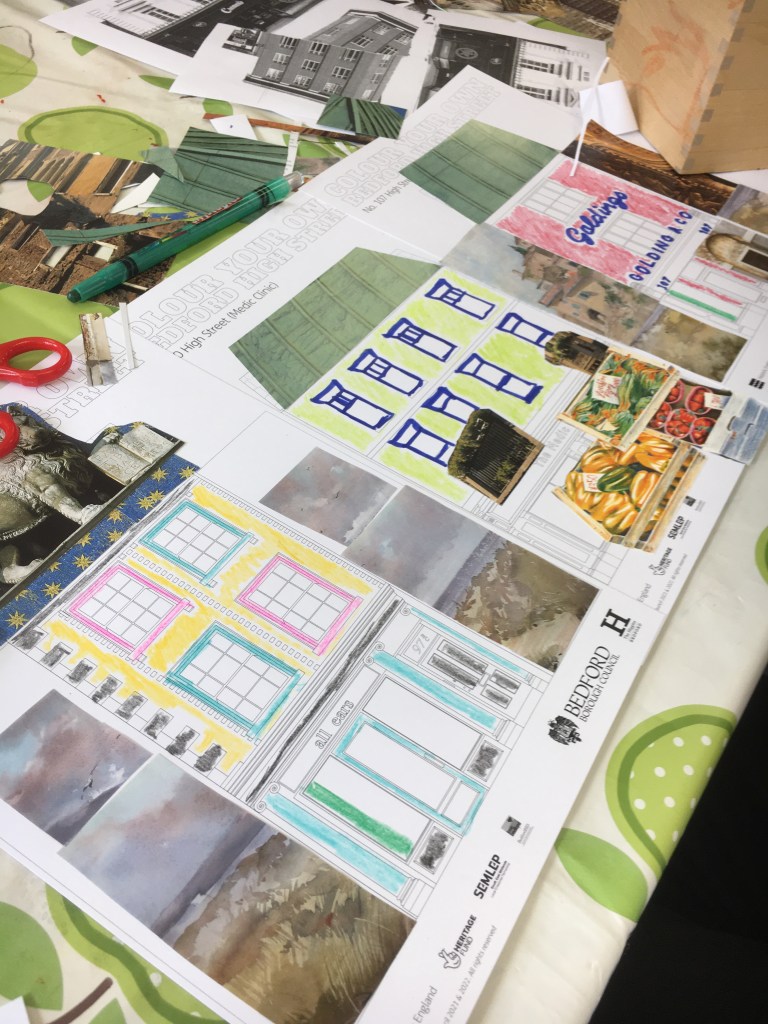
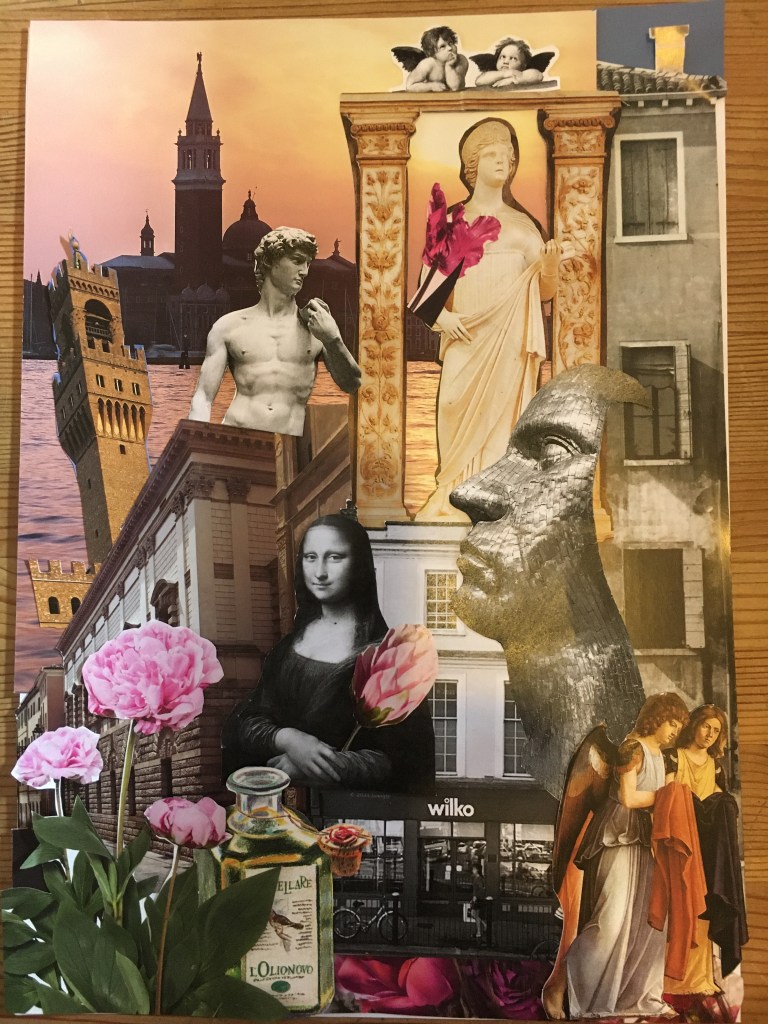
I was so pleased to be asked to run a workshop. I decided a collage activity would be easy and fun. Together we could reimagine Bedford High Street using architectural elements from the Italian Renaissance.
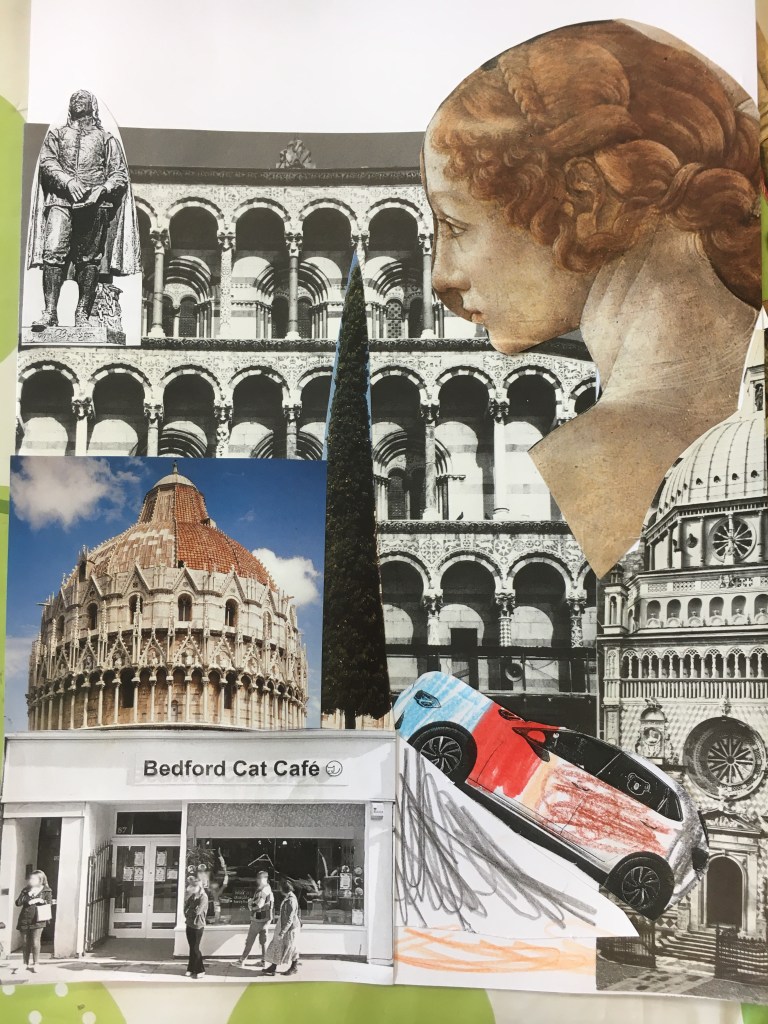
The idea of Bedford High Street remade in grand Italian marble with columns, arches and domes was fantastic, and… Wow! I was so impressed with the art that was made at the workshop- Bedford è Bella!
The stories the children created along with their collages were inventive too! We had a cafe for animals (the cats already have their own cafe in Bedford) a magic gondola that uses the side of the ‘silver faces’ (aka ‘Reflections of Bedford’) to ramp up to the moon, a flying burger thief, statues ate gelato, Canada geese drank cappuccino and I saw a temple to ice cream. Books were made! Paper bracelets were made! The kids were so creative it was so much fun.
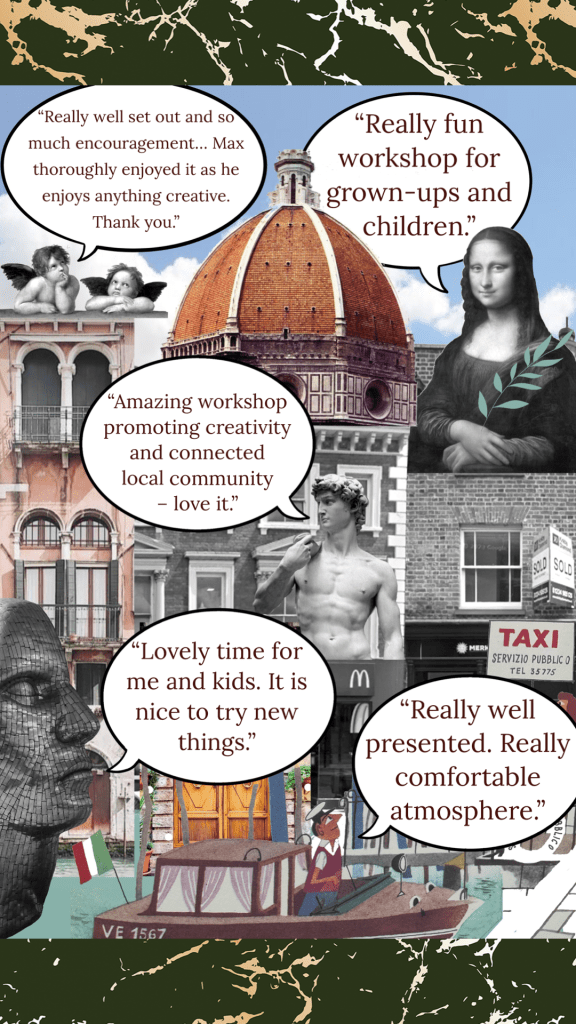
I’d love to do more workshops in the future. Many thanks to The Higgins for hosting, and to everyone who joined in to make the day special. I think people enjoyed themselves. Look at the comments!
I’ve been having problems selling with Etsy and I was going to join a new online shop, but it’s so time consuming, I can’t be bothered to organise the switch! There are so many hyperlinks on various websites and platforms to tweak. I decided to keep going with Etsy for now.
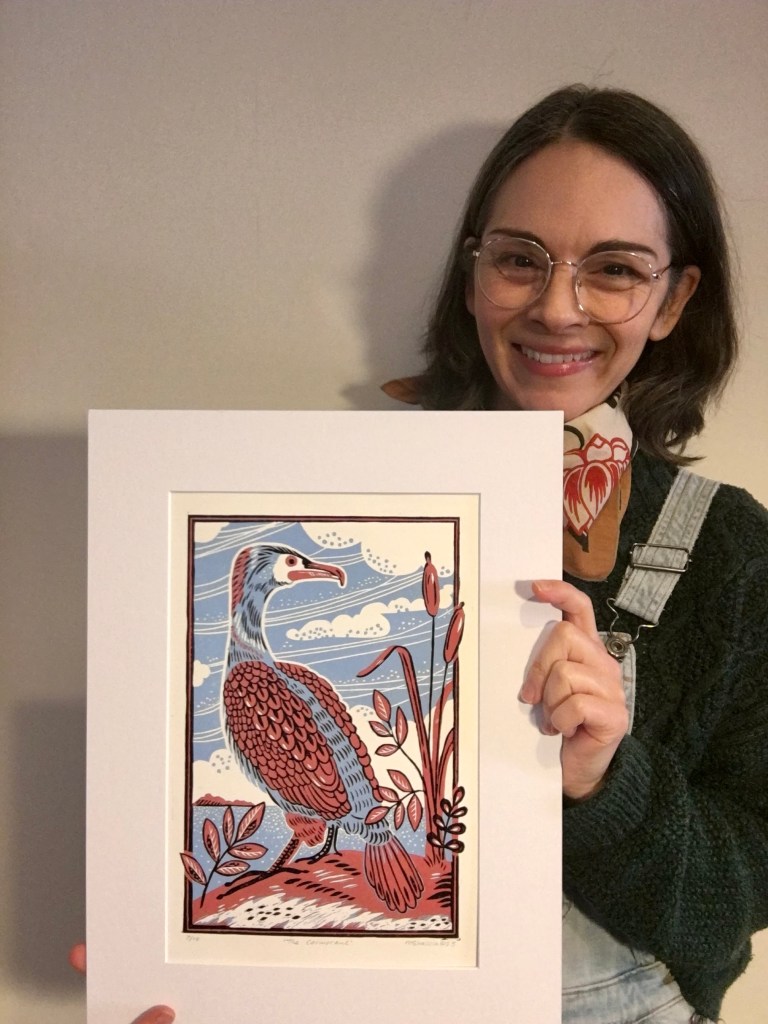
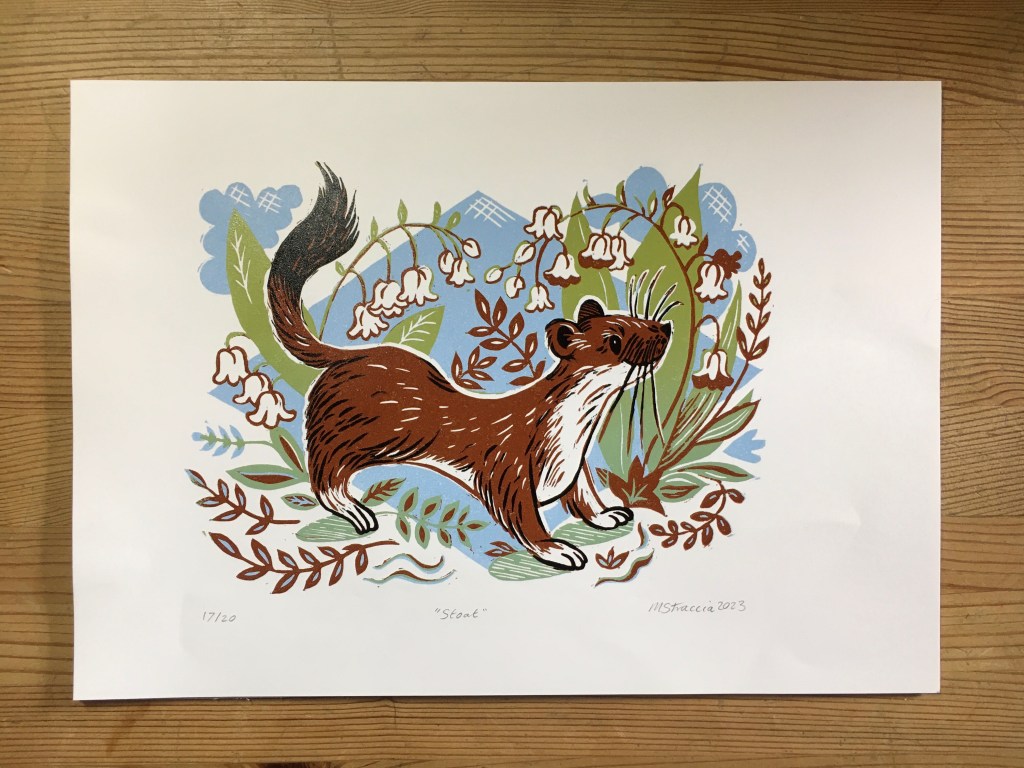
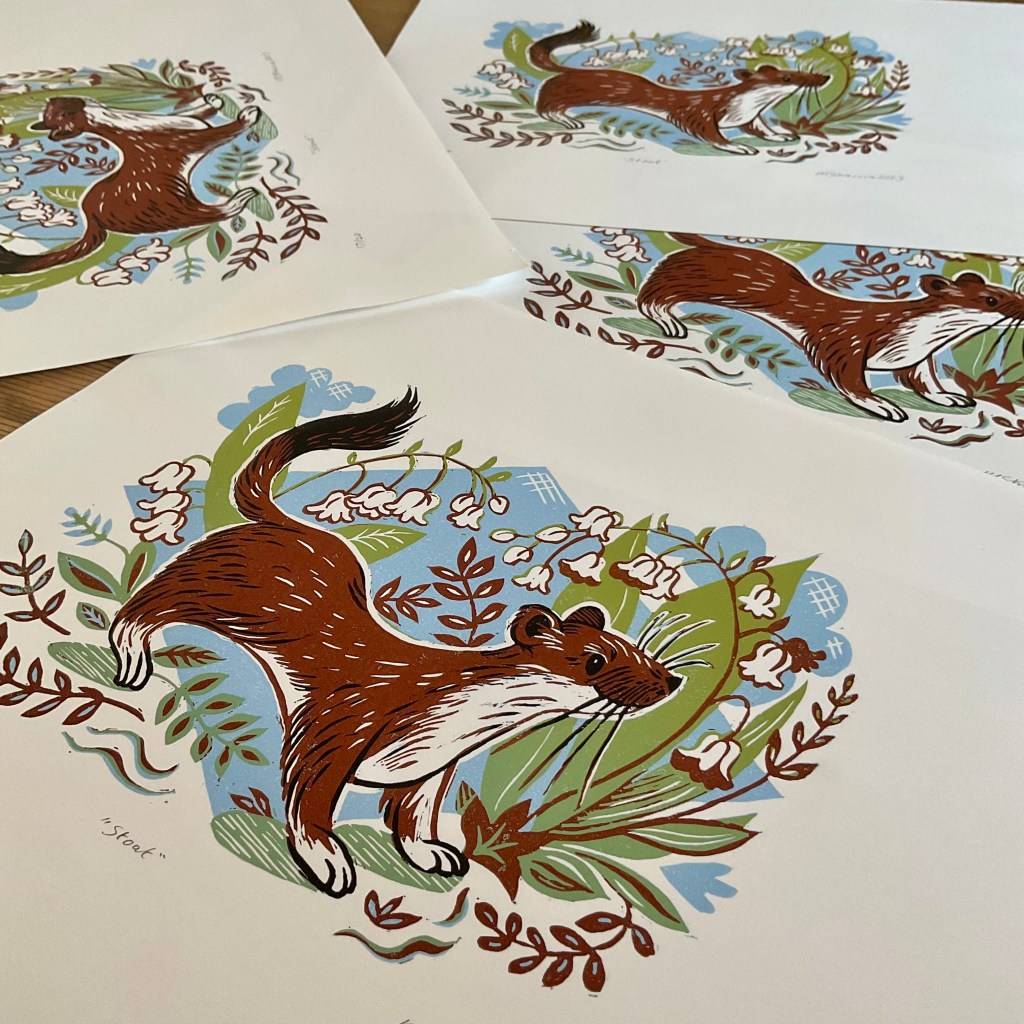
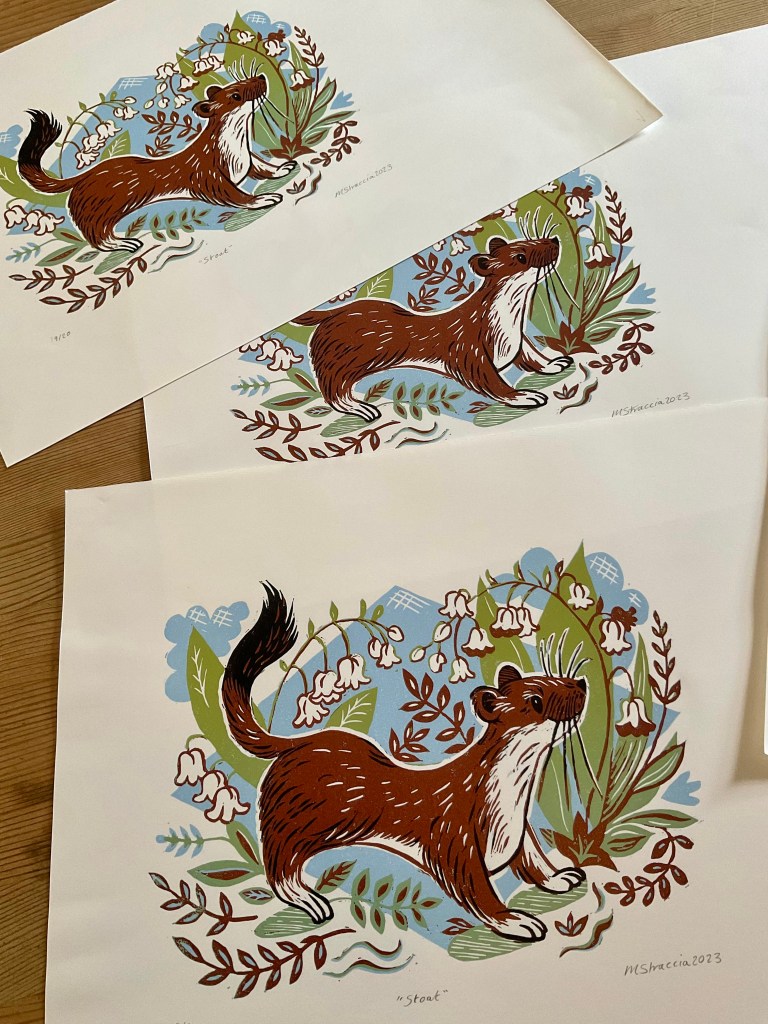
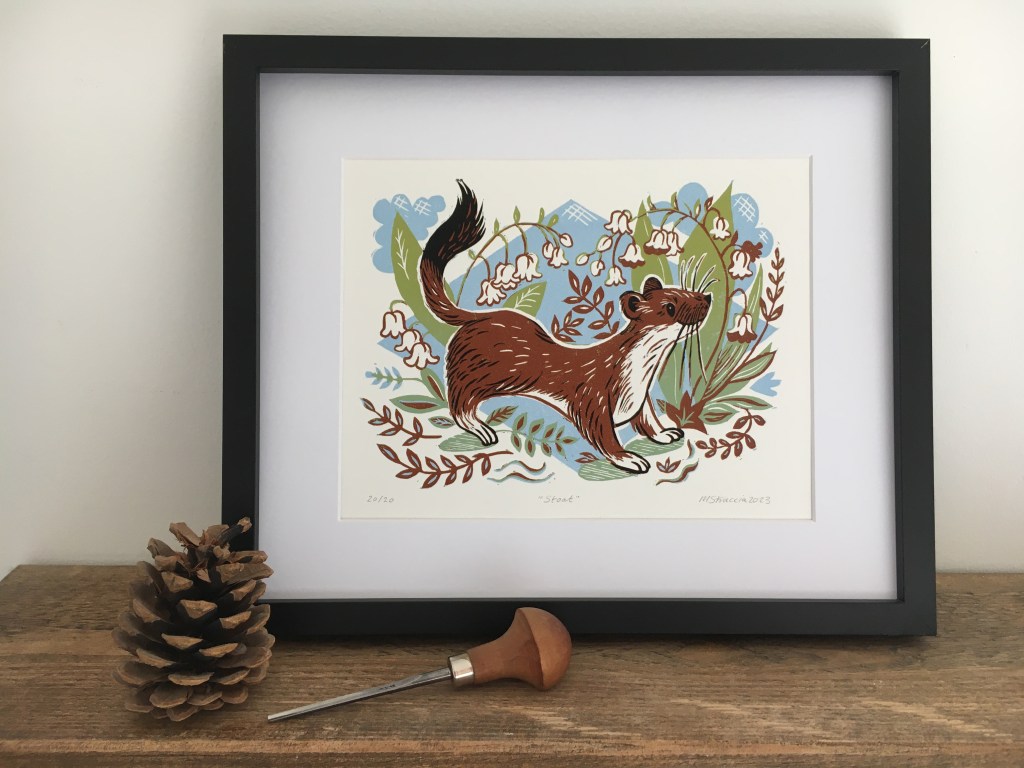
Presenting my new finished piece! A European stoat (Mustela erminea) surrounded by a lily of the valley motif. A reduction linocut print in a traditional British countryside arts style. I mixed my own colours to create a soft vintage palette in warm brown, mint green and pastel blue.
I once saw a wild stoat on my way to Tesco. He perched upright on his back legs and looked me right in the eye, before bouncing off into some long grass. He was super cute.
In North America, a stoat is called a short tailed weasel. They have a distinctive black tip on their tails.
As you know, my art prints are my own design and are handmade without machinery. The little variations in texture and some distinctive impressions within each handprinted limited edition means every print is unique. My process isn’t high tech. Designs are created on my living room table with a baren and the back of a wooden spoon.
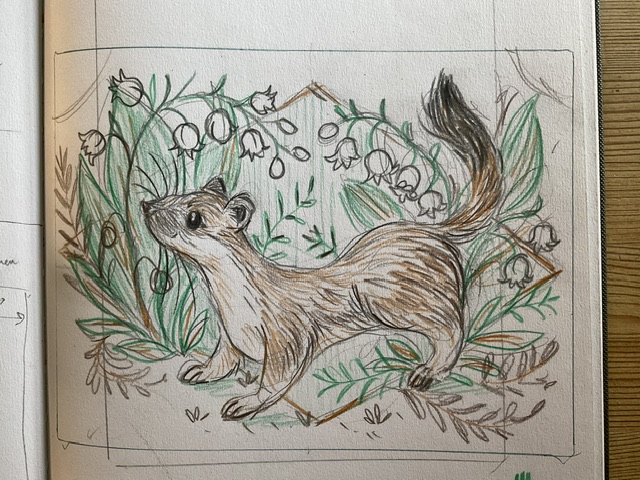
The sketch of Stoat
This is a four layer colour reduction linoprint so each layer is printed from the same piece of lino. The lino is carved away for each layer and colour is added on top of the last, which means I can’t go back to print more. (So do get a print before they sell out if you like the look of him).
This blog post was written without A.I. assistant writing tools.
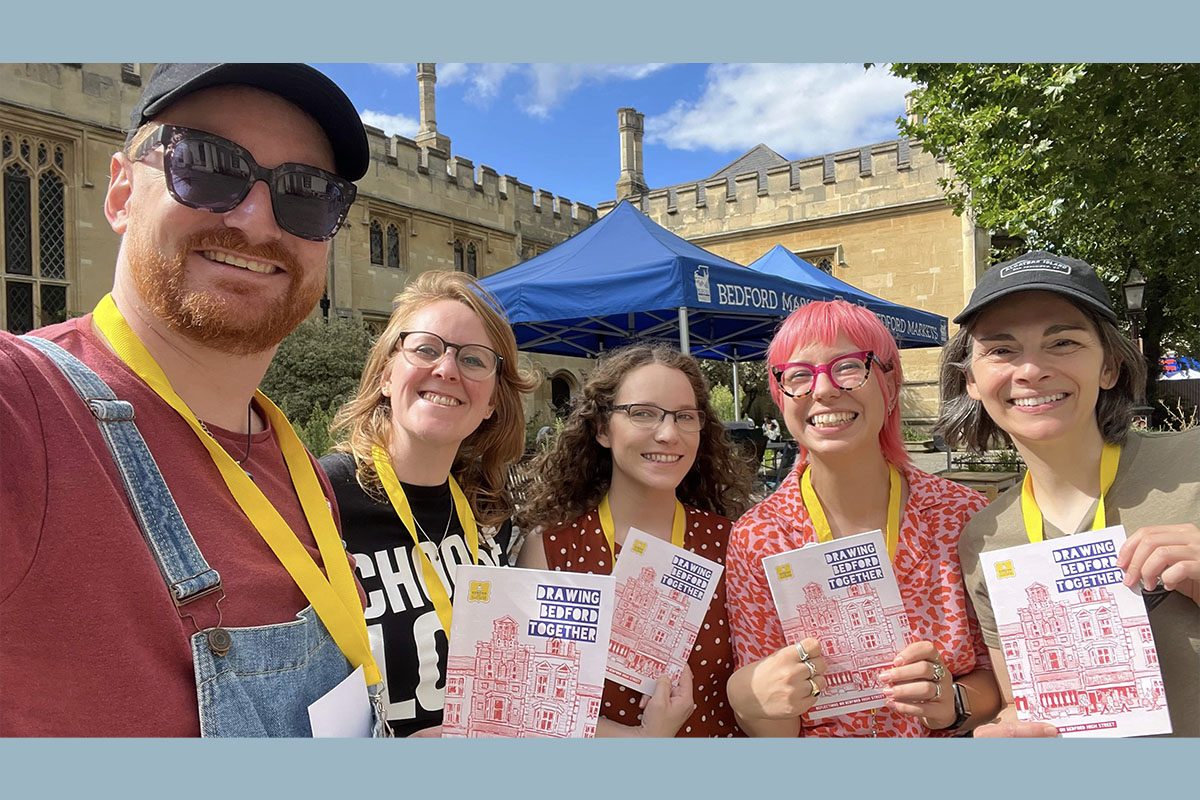
I’ve been project managing a gorgeous new zine with The Circus Of Illustration all about Bedford High Street. The booklet is brimming with original illustrations by some very talented local artists.
We worked with experienced and aspiring artists linked to Bedford, pairing them as mentors and mentees to nurture the creative industry in our town.
Pick up your copy at a Drink and Draw and at the featured shops and cafes on the High Street.
Drawing Bedford Together has had some great press coverage. Read more about the work we did at BBC Online and at Bedford Independent. I was on BBC 3counties radio talking up the project on their weekend breakfast show too!
On publishing day The Circus hosted a big public drawing event in town. It was fun inviting the public to draw their own dream High Street.
I hope as many people as possible get to see the zine and discover these talented artists.
For some of the youngest artists, it was their first paid gig as illustrators. Hopefully the first in a successful creative career.
I hope everyone in Bedford will enjoy their inventive interpretations of the High Street and that it stirs up an appreciation for this part of our town in a fun, new way that will spark their imagination too.
This project has been made possible through the Bedford High Street Heritage Action Zone programme thanks to funding from Historic England, Bedford Borough Council, SEMLEP and Bedford BID.
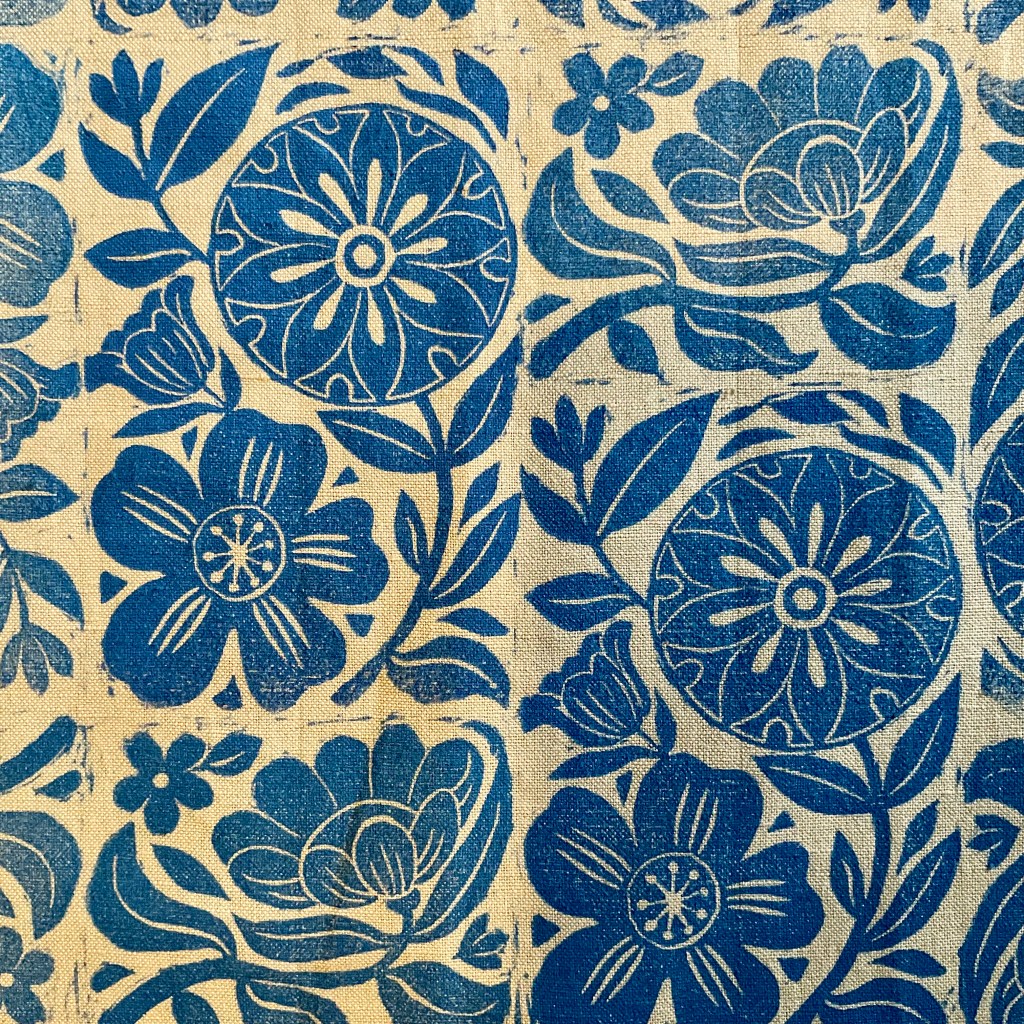
I have always wanted to create my own block printed fabric. I wanted to make myself a pretty headscarf. I didn’t know where to start so I did some experimenting and I want to share with you my discoveries.
Experiment no. 1
First, wash the fabric to clean off any impurities that could stop the ink from adhering to the surface of the material. I experimented on some scrap linen. Once dried, I ironed it and pinned it flat to a heavy blanket that I stretched over my table.
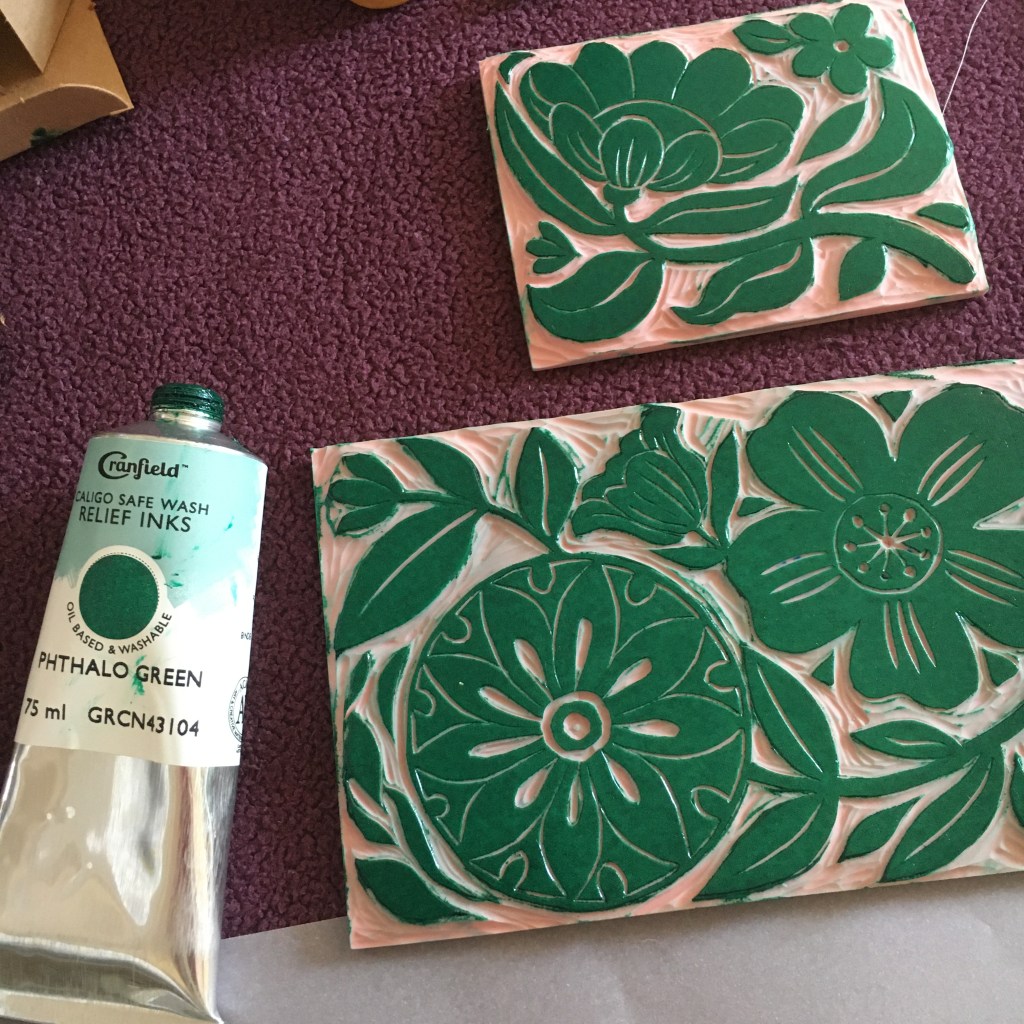
I carved two stamp designs using soft cut lino by speedball. I haven’t used it before. It’s flexible but very plasticky. And I bought a speedball baren too so I can get some extra pressure on the prints.
I used an esdee fabric roller especially for this slippery fabric ink. Put half a teaspoon’s worth in your tray and roll it out to get the best coverage. I was too cautious to begin with, my prints were too faint. I just did everything by eye. I wasn’t too fussed about getting the pattern perfect.
What I learned about Speedball Fabric Ink
People love this speedball ink because it is safe wash until dry. It washes off with just soap! It takes about 1 week to dry and the ink is soft and flexible on the linen. I washed the fabric at 30C and it didn’t run! The smell of this ink when it is drying is horrible. It smells of chemicals!
Experiment no. 2
I played around and made myself a headband. I made stupid colour choices. I have nothing in my wardrobe that is pink and blue!
Experiment no. 3
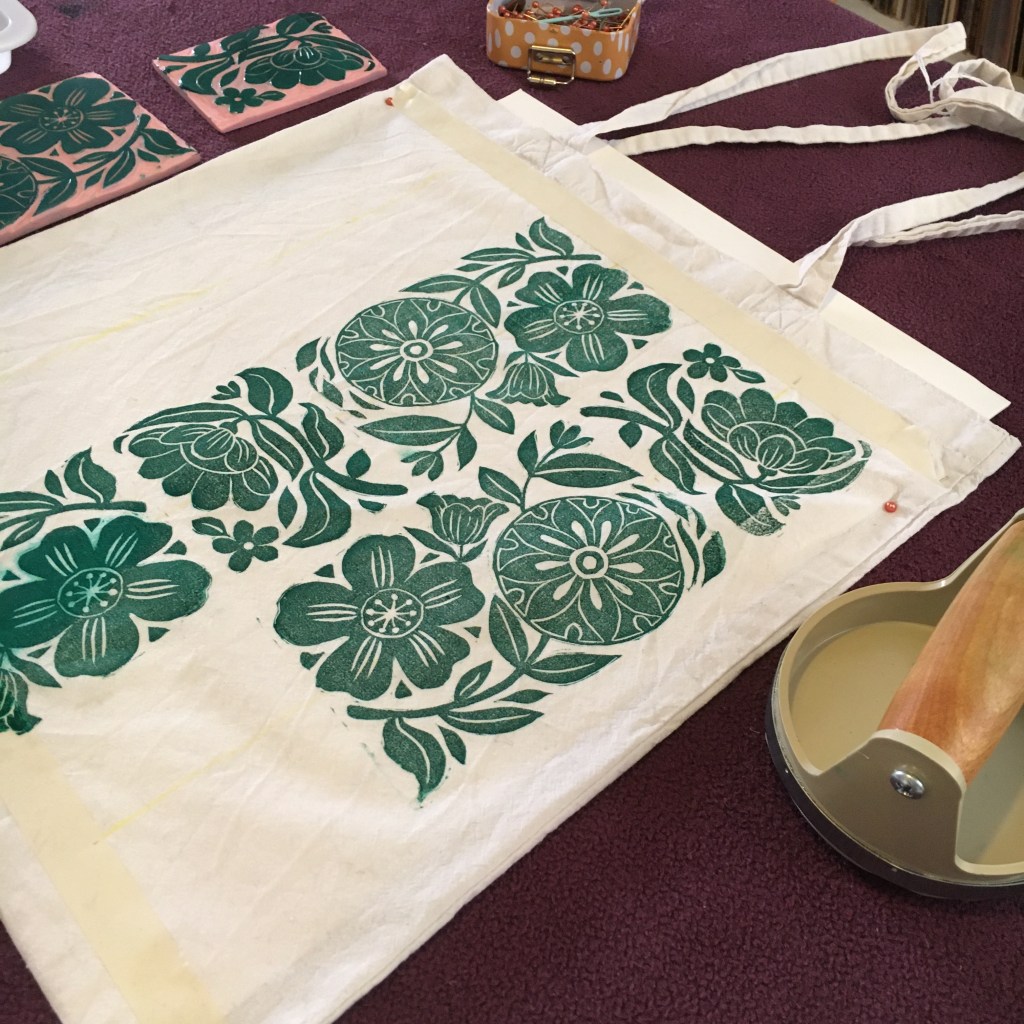
I read about printers using caligo safe wash ink on fabric too. I thought I’d try it out.
It works so well. I used the fabric roller again and made myself a tote bag. The secret to using caligo safe wash on fabric is to let it dry completely. About 7 to 10 days. Don’t be impatient. Then you need to heat set it with an iron. Keep running the iron over it for about 5 minutes. I popped the finished bag in the washing machine at 30C and to my relief the design didn’t run! The bottom of my tote design looks messy because I spilt my drink on the bag whilst it was still wet. I can be quite clumsy.
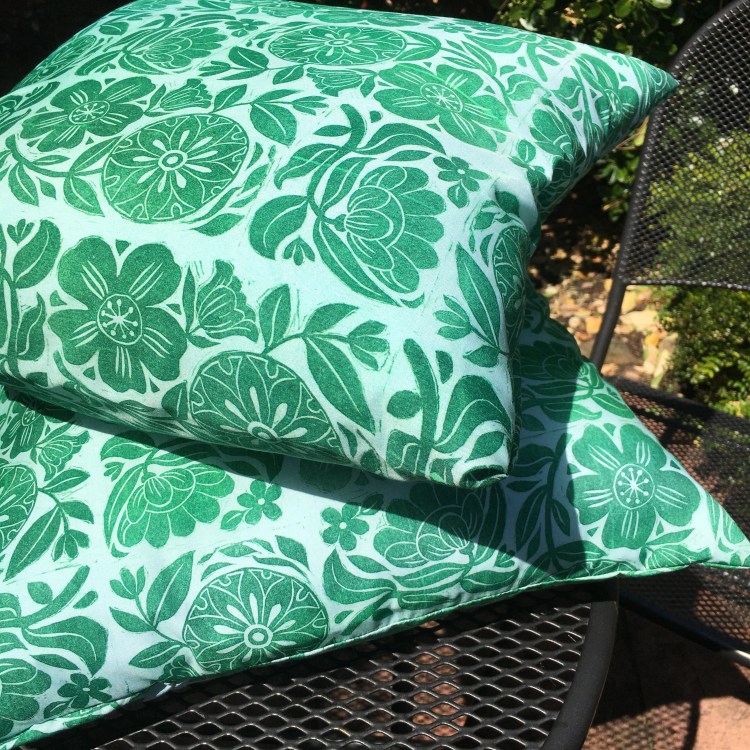
Garden cushions
The summer is here so I made my block hand printed design into a couple of cushions. The whole process has taken ages! About 5 weekends of trying things out. Having to get reacquainted with my sewing machine didn’t help.
I used green ink on blue cotton. I know it looks white on the photos but I swear it’s baby blue! The ink did run a bit in the washing machine. I don’t think i gave the ink enough time to dry before hot pressing the design. Never mind, it’s part of the joy of learning something new.